How to fix a bike chain: put it back on, remove it or replace it
Dropped, snapped or keeps coming off: put a bike chain back on, fix a broken link, check wear at 0.5% or 0.75%, and replace it to match the speed.
By the tyred mechanics
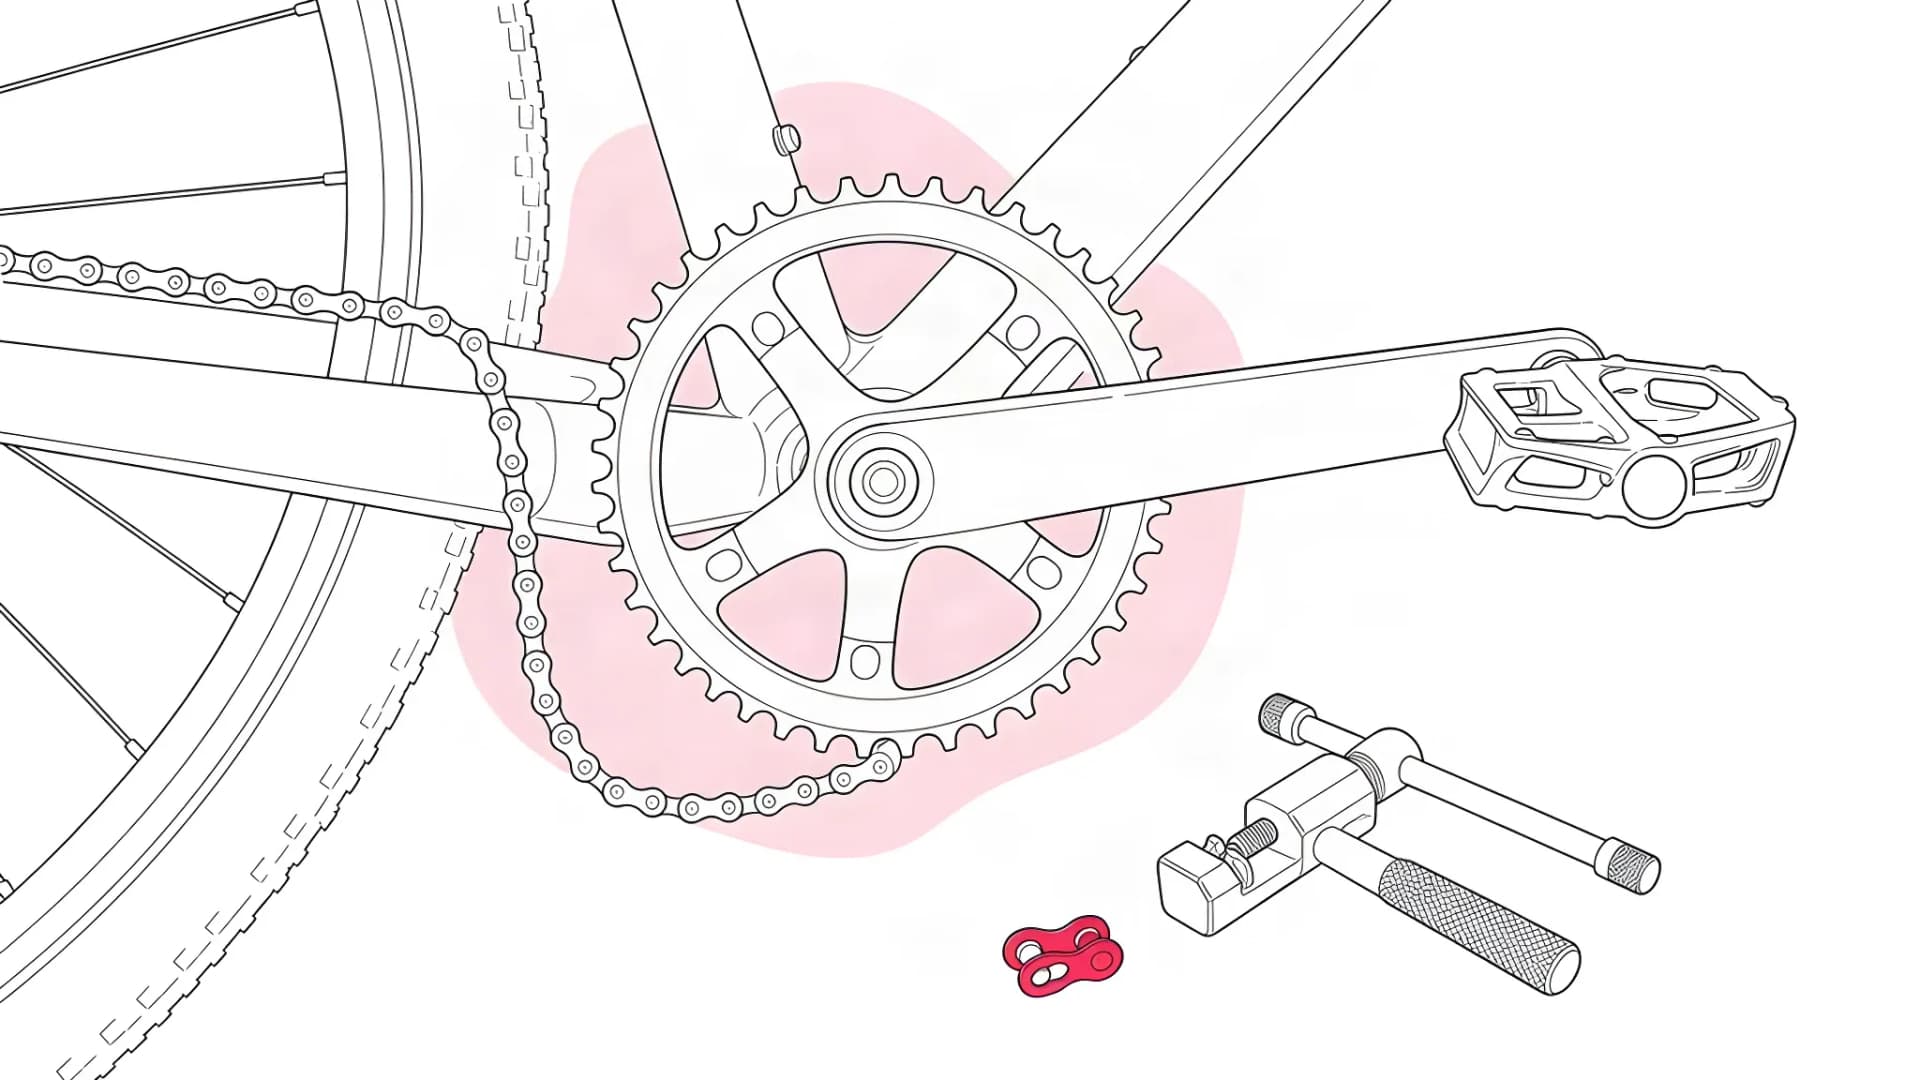
Short answer: if the chain has come off, stop pedalling, lift it back onto the chainring teeth by hand and turn the cranks slowly until it seats. If it has snapped, remove the damaged link with a chain tool and join the two inner links with a quick link of the right speed. If it keeps coming off, the cause is adjustment or wear, and the list below tells you which. Replace a chain when measurement says so rather than by age.
Which chain problem do you have?
A chain fault shows itself in one of seven ways, and each way points to a different cause. Match your symptom in the list before you touch anything, because the fix for one fault can bring on another.
- The chain came off the chainring towards the frame. The front low (L) limit is too loose, or you downshifted under load. Lift it back on, then set the L screw. Roadside fix: yes, one minute, no tools.
- It came off the chainring towards the pedal. The front high (H) limit is too loose, or the outer ring is bent. Feed it back between the derailleur cage and the ring, then set the H screw. Roadside fix: yes, but fiddly.
- It came off at the back, between the smallest sprocket and the frame. The rear H limit, or a bent hanger. Lift it back on; if it is jammed, take the wheel out. Roadside fix: yes, unless it is jammed.
- It came off at the back into the spokes. The rear L limit, or a bent hanger. Stop at once, free it, and check the hanger and spokes. Roadside fix: sometimes; a hanger is a workshop job.
- It slips forward under hard pedalling in one gear. A worn chain or cassette. Measure the chain and replace what is worn. Roadside fix: no.
- It jumps once per crank turn and the derailleur twitches. A stiff link. Flex the link sideways by hand. Roadside fix: yes.
- It snapped. A worn or damaged link, or a shift under load. A chain tool plus a quick link. Roadside fix: yes, with the two tools, 10 to 15 minutes.
How to put a bike chain back on
A dropped chain goes back on by hand in under a minute. Stop, hook the chain onto the teeth from below, and turn the pedals slowly until it climbs on.
Do not keep pedalling in the hope that it finds its own way back. Cycling Weekly's mechanic Yousif Sadik warns that pedalling on is how a chain jams and scores the frame.
At the front. Three steps put the chain back on the ring:
- Click the front shifter to the ring the chain fell from, so the derailleur cage lines up with it.
- Hook the lower run of the chain onto the bottom teeth of that ring.
- Lift the back of the bike and turn the cranks forward by hand, and the chain climbs on within one turn.
If the chain fell off the outside of the big ring, feed it back through the gap between the derailleur cage and the ring first.
At the back. A chain sitting between the smallest sprocket and the frame lifts back on from the top. Hook it over the smallest sprocket and turn the cranks. If it has wedged itself in, open the quick release or thru-axle, drop the wheel out and free it.
A chain that has gone past the biggest sprocket into the spokes needs more care. Stop straight away, ease it out, and check the spokes and the derailleur hanger before you ride on. A chain trapped behind the cassette is a workshop job, because the cassette has to come off.
With no tools and clean hands. A stiff leaf or a twig from the hedge will hook it onto the bottom teeth, and three or four teeth engaged is enough for the cranks to do the rest. Keep your fingers away from the teeth while the cranks turn. Sadik's other tip is a pair of nitrile gloves in the saddlebag.
Why does my bike chain keep coming off?
A chain that drops repeatedly has a cause you can find, and the checks below run from quickest to most expensive.
- Limit screws. The two screws on each derailleur, marked H and L, stop the chain going past the end sprockets or rings. The side the chain drops on tells you which screw is loose: towards the frame is the L screw, away from the frame is the H screw. Our guide to gears that skip or will not change covers limit screws, indexing and the bent hanger that shifts where the limits point. If the chain still drops inside the small ring, a chain catcher below the front derailleur stops it physically.
- Wear. A stretched chain rides up the teeth instead of sitting between them, and teeth worn into hooked shapes throw a chain that is otherwise fine. Measure the chain (below) and look at the tooth profiles side on.
- Chain length. Too long, and the chain hangs slack in the small-small combinations. Too short, and it binds in big-big and can tear the derailleur off. Sizing is in the replacement section.
- Cross-chaining and shifting under load. Big ring with the biggest sprocket, or small ring with the smallest, runs the chain at its steepest angle, and one bump lifts it off. Shifting while standing on the pedals does the same, so ease off for the half second the shift takes.
- No derailleur at all. On a single-speed or hub-gear bike the wheel position sets the tension, and a wheel that has crept forward in the dropouts leaves the chain slack. That case has its own section below.
How to fix a snapped bike chain
A snapped chain is repaired at the roadside with two small things: a chain tool and a quick link of the right speed. Cycling UK's roadside method is the one to follow.
- Back-pedal until the damaged link hangs at the bottom, where you can reach it.
- Put the outer link next to the damage into the chain tool and wind the pin out. Do the same on the other side, so that you are left with an inner link at each end. A quick link only joins inner links.
- Feed the chain back through both derailleurs. On the rear derailleur the chain runs inside the small tab near the upper jockey wheel rather than outside it.
- Push one half of the quick link into each inner link from opposite sides. Bring the halves together so each pin drops into the slot on the other plate.
- Lock the link. Quick link pliers pull the plates into their seats. Without pliers, turn the cranks until the link sits on the top run, hold the rear brake on and press hard on the pedal until you hear the click.
The chain is now one link shorter, so stay out of big-big until a new chain goes on. Flex the repaired link sideways, because a stiff link jumps once every crank turn.
Rejoining a chain with its own pin, as Cycling UK's printed guide shows, is the fallback without a quick link. On Shimano chains it is not an option, because the dealer manual allows only a new reinforced connecting pin.
How to remove a bike chain
To remove a bike chain, find the quick link (also called a master link) first. It is the one link with two identical outer plates, each carrying one pin and one slot, and on many chains it is a different colour.
Squeeze the link out with quick link pliers. If there is no quick link, push any pin out with a chain tool.
- Shift to the small ring and the smallest sprocket, which puts the least tension on the chain.
- With a quick link: set the pliers between the rollers on either side of the link and squeeze, so the plates slide apart. On the reusable 8, 9 and 10-speed links a loop of old gear cable round the two rollers does the same job; the stiffer 11 and 12-speed links need pliers.
- With a pinned chain: sit the chain in the tool's far set of teeth, line the driver up with a pin, and wind the pin right out.
- Feed the chain out through the derailleurs, or pedal it out.
Without a chain tool there is no clean way to open a pinned chain, because pliers and a nail bend the plates and the pin. A multi-tool with a chain breaker is the answer, and it fixes the snapped chain above as well.
When to replace a bike chain
Replace a chain when measurement says so, whatever its age or mileage. Pins and rollers wear, the distance between them grows, and past a threshold the chain starts wearing the cassette to match it. BikeRadar's chain wear guide says riding distance is not an accurate indicator, and that measuring is the only way to know.
The thresholds by drivetrain:
- 6 to 10-speed: replace the chain at 0.75% elongation; past 1% the cassette is at risk. Stated by BikeRadar (2023) and Park Tool, whose CC-4.2 checker reads 0.5%, 0.75% and 1%.
- 11 to 13-speed (Shimano, KMC, Campagnolo): replace at 0.5%; past 0.75% the cassette is at risk. Stated by BikeRadar (2023) and road.cc (2020).
- SRAM Eagle 12-speed and Flattop road chains: replace at 0.8% on a SRAM-approved checker; SRAM gives no cassette figure. Stated by SRAM support.
- Single-speed and hub gear: replace at 1%. Stated by road.cc (2020).
SRAM's own 0.8% figure for its 12-speed chains is looser than the magazine rule of 0.5%, so use the number your chain's maker publishes. A chain checker drops into the chain and gives a yes or no.
The ruler method costs nothing: on a new chain, ten complete links measure 25.4 cm from pin centre to pin centre. At 25.53 cm the chain is 0.5% worn and at 25.59 cm it is 0.75% worn. In inches, twelve links of a new chain measure exactly twelve inches.
If you left it too long: a new chain on a worn cassette skips under load, because the teeth have worn to the old chain's pitch. The pair then has to be replaced together, and on many bikes the chainrings too. London winter grit brings all of this forward, which is where the chain cleaning guide comes in.
How to replace a bike chain: length and speed
Buy a chain that matches the number of sprockets on your cassette, size it to your bike, and join it with the link or pin the maker specifies.
Speed. Count the sprockets first. A 12-speed cassette needs a 12-speed chain, because the sprockets sit closer together and the chain is narrower to suit.
SRAM states that Eagle 12-speed chains are not compatible with 11-speed cassettes, derailleurs or chainrings, and that using them there "may lead to reduced performance, premature wear, or worse". The quick link is speed-specific too, as the list below shows.
Length. Lay the old chain beside the new one and match the number of links, counting rather than measuring, since the old chain has stretched.
Without the old chain, wrap the new one round the big ring and the biggest sprocket, bypassing the rear derailleur. Bring the ends together and add one complete link, an inner and an outer, as road.cc describes. Full-suspension mountain bikes need the rear end compressed while you size, because the chainstay lengthens as the suspension moves.
Joining. You must end with an inner link at each end, so remove one extra outer link to make room for a quick link.
Shimano quick links go on with the arrow pointing the way the cranks turn, and Shimano says a link fitted the wrong way round can detach. A reinforced pin goes in from the cutter side, and the excess snaps off with pliers.
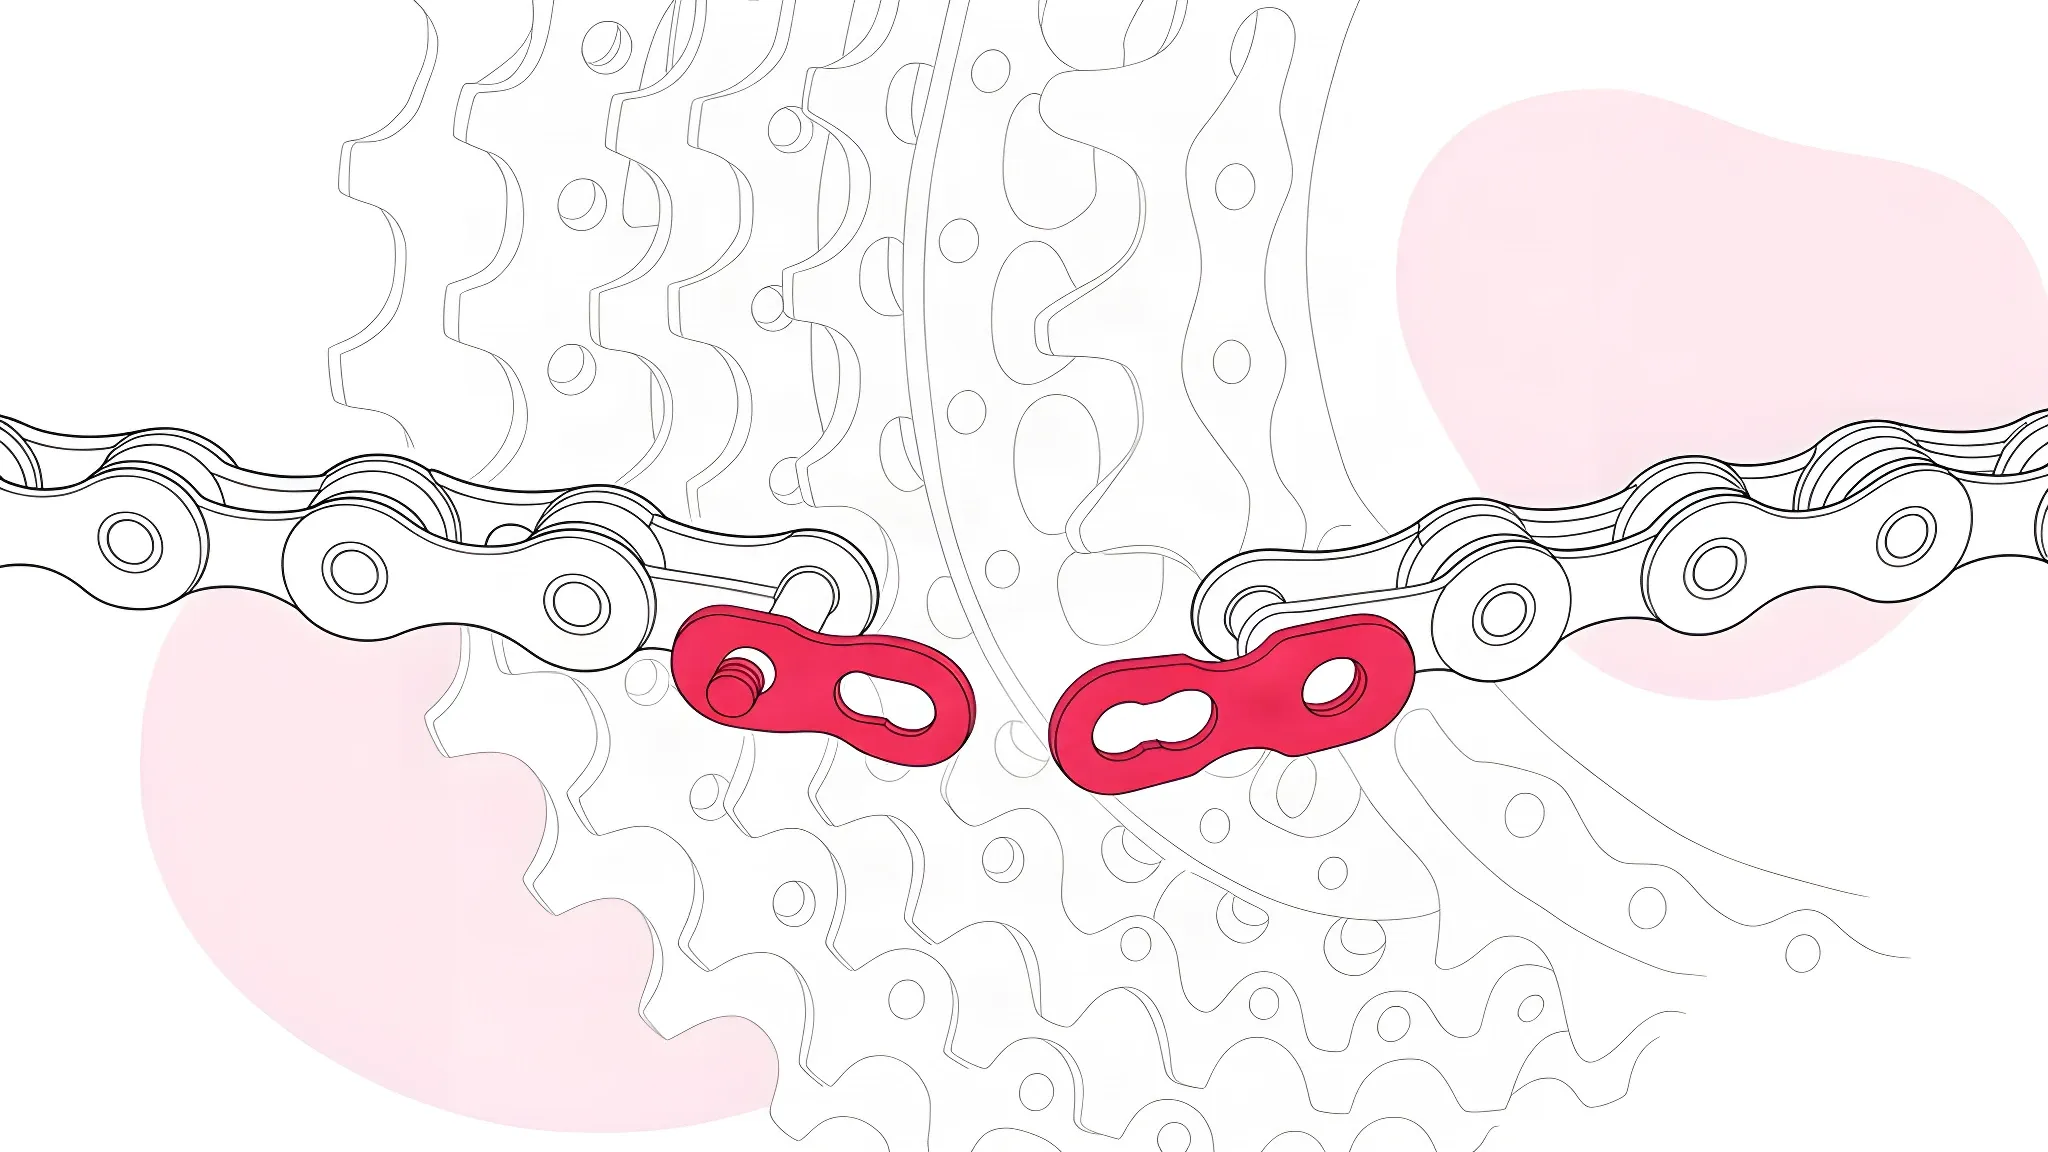
Whether a quick link can be reused depends on the make:
- Shimano QUICK-LINK SM-CN900-11 and SM-CN910 (11 and 12-speed): not reusable. Shimano's service notice SI-0159A (2020) says not to reuse a removed link, and to fit a new link with every new chain.
- SRAM PowerLock (Eagle and Flattop 12-speed): single use, removed with chain link pliers, according to SRAM support.
- KMC MissingLink, latch type (CL552 12-speed, CL555 11-speed): not reusable. KMC says the latch design can be used once.
- KMC MissingLink "R" type (CL555R, CL559R, CL566R, CL573R, 6 to 11-speed): reusable three to five times, according to KMC.
Single-speed, hub gears, Brompton, e-bikes and belt drives
Single-speed and hub gears. Dutch-style town bikes, fixed-gear bikes and anything with a Shimano Nexus or Sturmey-Archer hub have no derailleur to take up slack. The rear wheel's position in the dropouts sets the chain tension instead.
To tighten a loose chain:
- Slacken both axle nuts.
- Draw the wheel back evenly so it stays centred between the chainstays.
- Nip the nuts up.
- Turn the cranks through a full revolution and feel for the tightest point.
The chain should move up and down a little at the middle of its lower run and never go rigid. A chain that still comes off after that has a chainring out of line with the sprocket, so the chain line needs checking.
Brompton. Non-derailleur Bromptons, the 1, 3 and 5-speed A Line and C Line and the P and T Line, carry a sprung chain tensioner behind the rear wheel. In Brompton's words it keeps the chain tight and in position while letting the bike fold, so there are no dropouts to adjust.
If a Brompton's chain comes off, check that it runs over both tensioner wheels and that the tensioner is seated on the axle.
E-bikes with a mid-drive motor. A Bosch or Shimano Steps motor pushes through the same chain your legs do, so every rule above applies with less margin. Bosch's care advice says the chain is especially stressed when gears are not shifted smoothly, so ease off for the shift. Keep chain lube off the disc brake, another Bosch instruction.
Belt drives. Bikes with a Gates Carbon Drive belt have no chain, and nothing in this guide applies to them.
Gates' owner's manual gives two rules: do not lubricate the belt, and a belt that skips teeth has too little tension. Tension is set with a gauge to a figure that depends on the bike, so treat it as a workshop job.
What not to do with a bike chain
- Do not ride on a stiff link. It jumps once per crank turn and can throw the chain. Flex it sideways by hand; if it stays stiff, a quarter turn in the chain tool's near set of teeth frees it.
- Do not reuse a Shimano QUICK-LINK or a SRAM PowerLock you have removed. Both makers say a reused link can loosen and detach.
- Do not refit a Shimano connecting pin you have pushed out, and do not cut a Shimano chain at a pin or quick link.
- Do not put a new chain on a worn cassette and expect it to hold. Measure before you buy.
- Do not use rust removers or other acid or alkali cleaners. Shimano warns that the chain or the quick link can break afterwards. The cleaning guide covers what to use instead.
When it is a job for a mechanic
- The chain is trapped between the cassette and the spokes, or the derailleur has gone into the wheel.
- A new chain still slips under load, which means the cassette or chainrings are worn too.
- The derailleur hanger or a chainring is bent, or a belt drive has started skipping.
- The chain has come off twice in a week after you set the limit screws. Something upstream is moving, and finding it is quicker at the kerb than in a workshop queue. A mechanic comes to you 9am to midnight, seven days a week.
Book a chain repair · About mobile bike repair →
Related guides
Sources and further reading
- Shimano: QUICK-LINK (11/12 speed) important notice, SI-0159A (2020) and the chain dealer's manual DM-CN0002 (2025): reuse, arrow direction, connecting pins, solvents.
- SRAM support: PowerLock reuse, when to replace an Eagle chain and Eagle chains on 11-speed.
- KMC: MissingLink connectors by speed.
- BikeRadar: bicycle chain wear explained (2023).
- road.cc: when should you replace your chain (2020) and how to stop your chain coming off (2021).
- Cycling UK: how to repair a broken chain, video and the downloadable maintenance guide 5.
- Cycling Weekly: how do I put my bike chain back on if it falls off.
- Park Tool: when to replace a chain on a bicycle, wear thresholds by drivetrain and what the CC-3.2 and CC-4.2 checkers read.
- Gates Carbon Drive owner's manual, Bosch eBike Systems: care of eBikes and Brompton: the chain tensioner.