How to inflate tubeless tyres and seat the bead at home
How to inflate and seat a tubeless bike tyre with a track pump, booster or compressor, the pressure ceiling, and what to check when it will not seat.
By the tyred mechanics
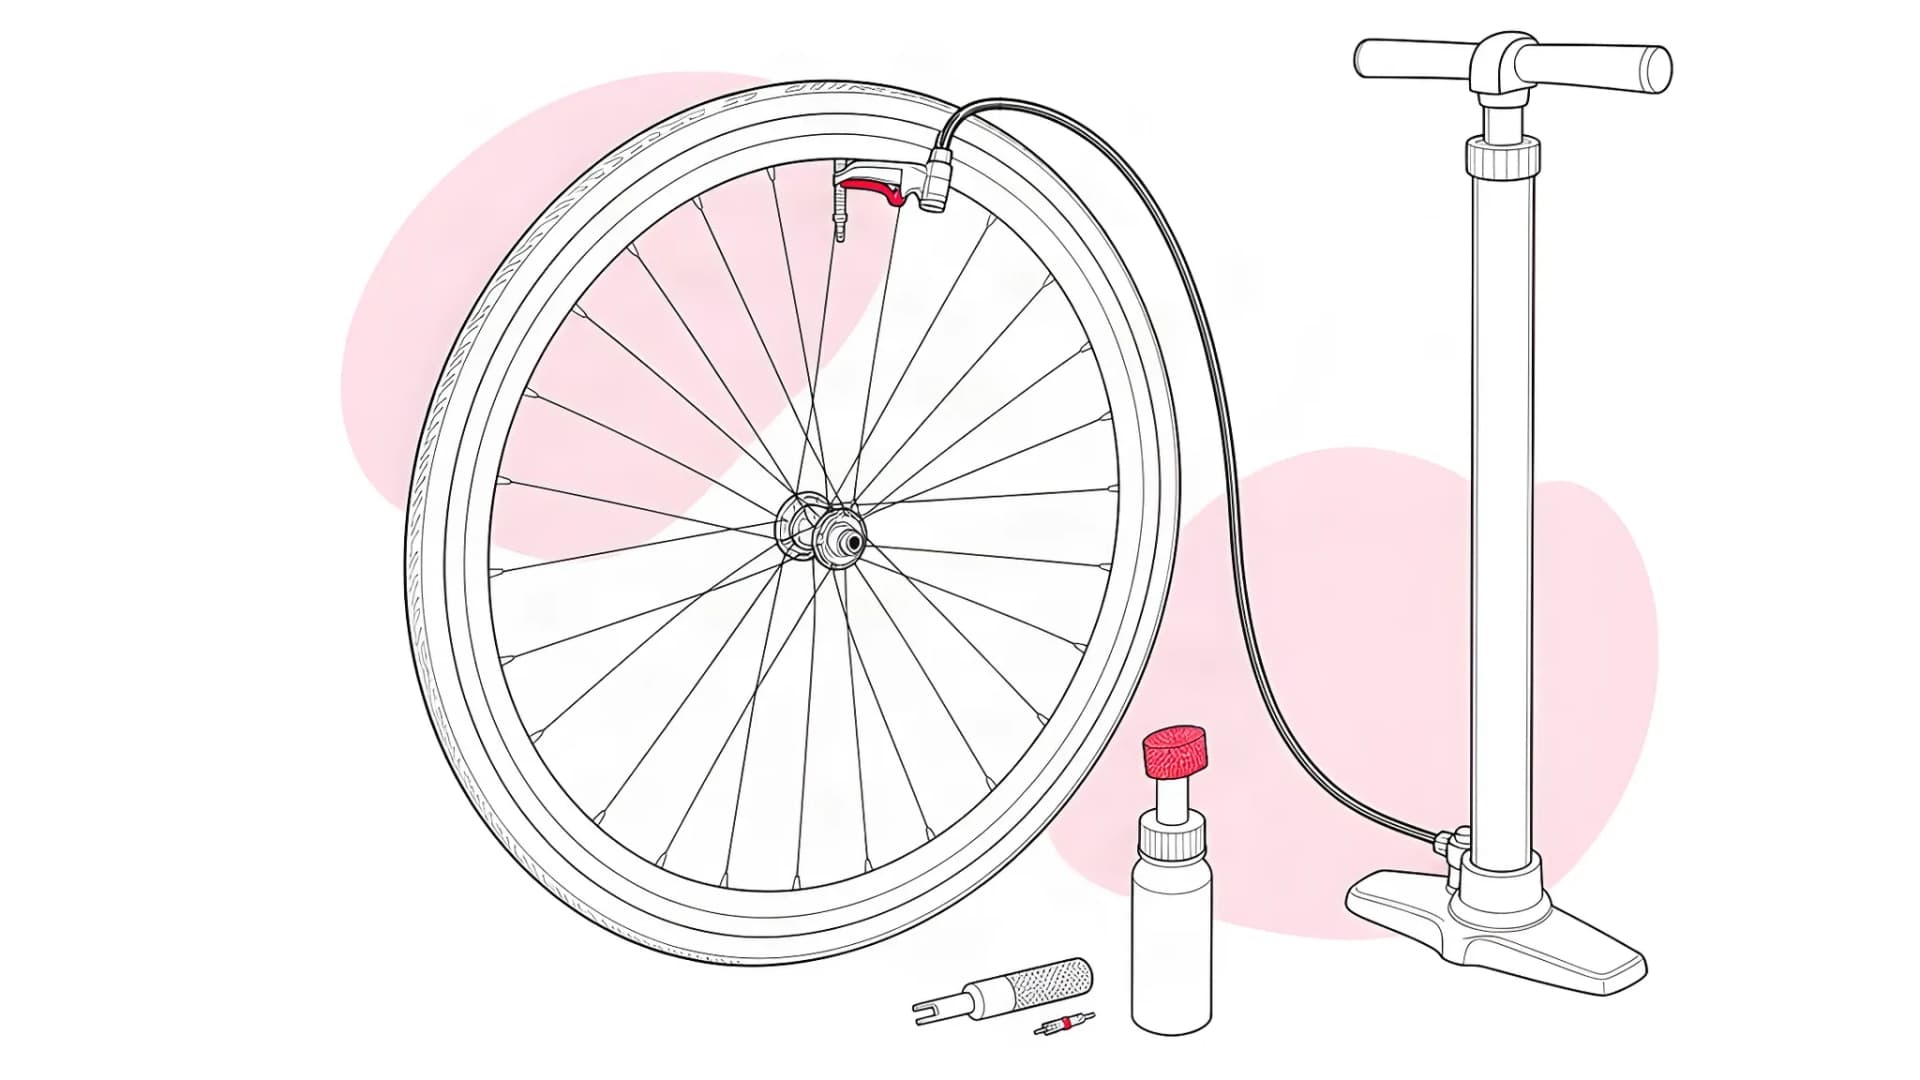
Short answer: to inflate tubeless tyres and seat the bead, take the valve core out, wet both beads with soapy water or mounting fluid and centre the tyre in the rim well. Then pump hard with a track pump until both beads pop onto the rim shoulders. Stop at the lower of the tyre's and the rim's maximum pressures. If the beads will not seat, a booster pump or a compressor delivers the air faster; CO2 is a last resort that Schwalbe and Continental advise against.
Top-up or seating: check the bead before you pump
A tyre that has gone soft but still sits on the rim shoulders needs a top-up. A tyre that has gone flat enough for a bead to drop into the rim well, or a tyre you have just fitted, needs seating. The two jobs use the same pump and a different sequence.
For a top-up, leave the valve core in: open the Presta tip, press the pump head on, pump to your riding pressure and close the tip. Our bike tyre pressure guide and the tyre pressure calculator give the figure.
For a flat tyre, look at both sides first. If the moulded line above the bead has dropped behind the rim edge anywhere, treat it as a seating job. A tyre that seats and then keeps going down is covered in our guide to a tubeless tyre losing air.
Before you inflate a tubeless tyre
Start from an assembled, compatible wheel: a tubeless-ready tyre on a tubeless rim, taped, with the valve fitted. Continental says to check rim, tyre, valve and tape for damage before mounting. Taping and valve fitting are in our guide to setting up tubeless tyres; the TLR marks and hookless approval lists are in bike tyre sizes.
The kit is a track pump with a gauge and a head that seals on a Presta valve with the core removed, a valve core tool, a rag, and sealant with a syringe if the tyre is dry inside. Add a bead lubricant: Schwalbe sells Easy Fit with a sponge applicator, and Stan's uses soapy water.
How much pressure does it take to seat a tubeless tyre?
There is no seating pressure, only a ceiling: the lower of the tyre's maximum and the rim's maximum. Schwalbe says that if the rim's stated maximum is lower than the tyre's, the rim's figure must not be exceeded. Continental says the lowest value is the one to follow; Stan's says not to exceed either stated pressure.
Find both figures before you start: the tyre's range on the sidewall, the rim's limit in the wheel maker's manual or on a rim decal. Hookless rims cap it at the ETRTO maximum, which ENVE gives as 5 bar (72.5 psi) for 25–29 mm road tyres and Giant uses as its threshold.
Makers differ on how close to go. Park Tool inflates to at least the label maximum to seat the beads; Topeak's booster manual says never to exceed it. The safe reading is up to the lower limit if you need it, not one stroke past it.
How a tubeless bead seats, and what the pop proves
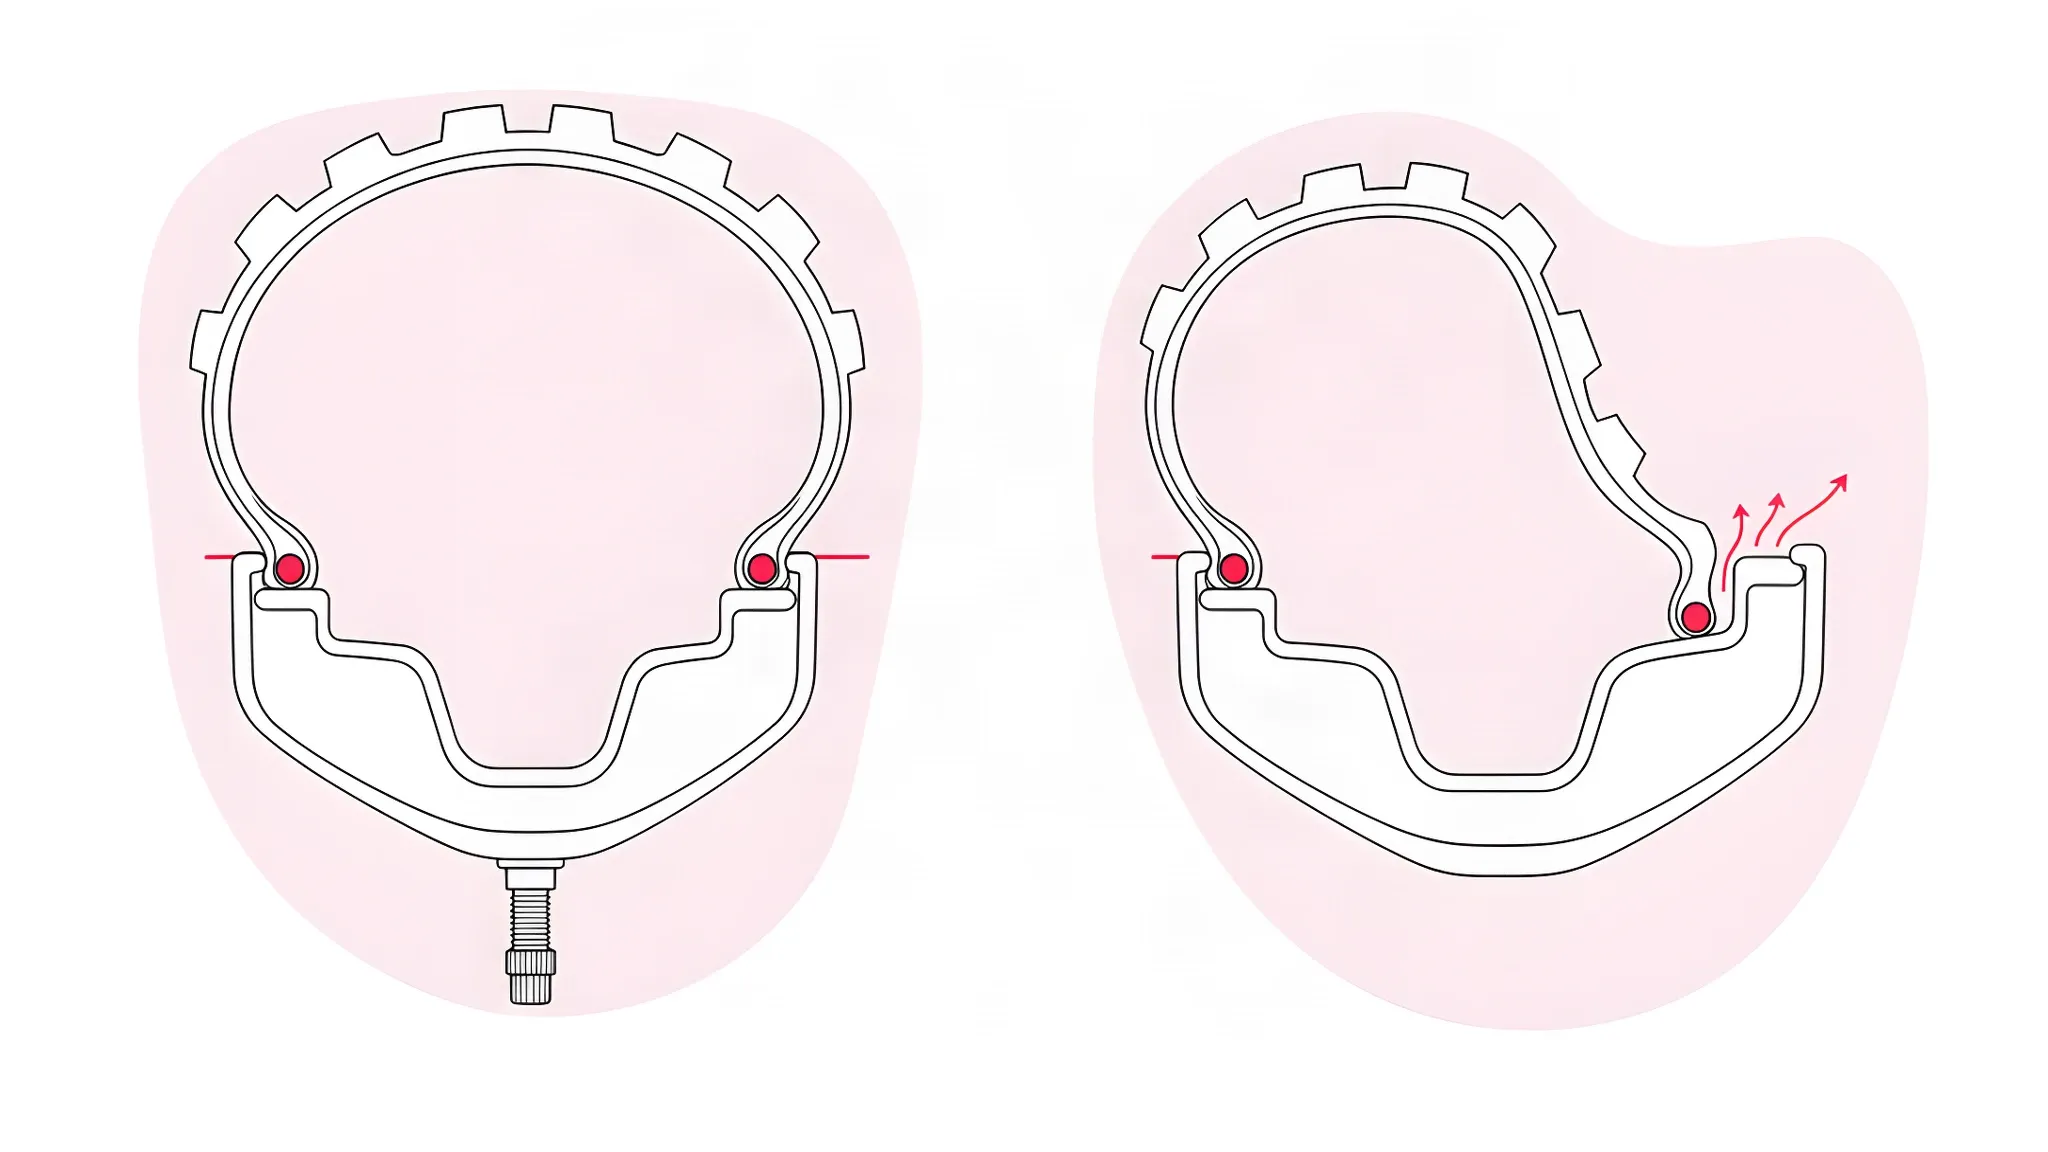
A fitted tyre starts with both beads in the rim well, the deepest part of the rim bed. Air has to lift each bead onto its shoulder, and until the bead touches the rim wall, air escapes around it. Seating happens when air arrives faster than it leaks out.
That is why every maker's instruction is about the speed of the air rather than a higher gauge reading. Schwalbe asks for "a strong blast of air" from a floor pump, compressor or booster, and Stan's removes the valve core for "a quicker burst of air".
The beads announce themselves. Schwalbe says the tyre "snaps audibly into place", and BikeRadar listens for pings until the tyre is seated around the full circumference. A pop is not proof, though: DT Swiss says the tyre must contact the rim evenly around its entire circumference, and Stan's says to check the bead seat line.
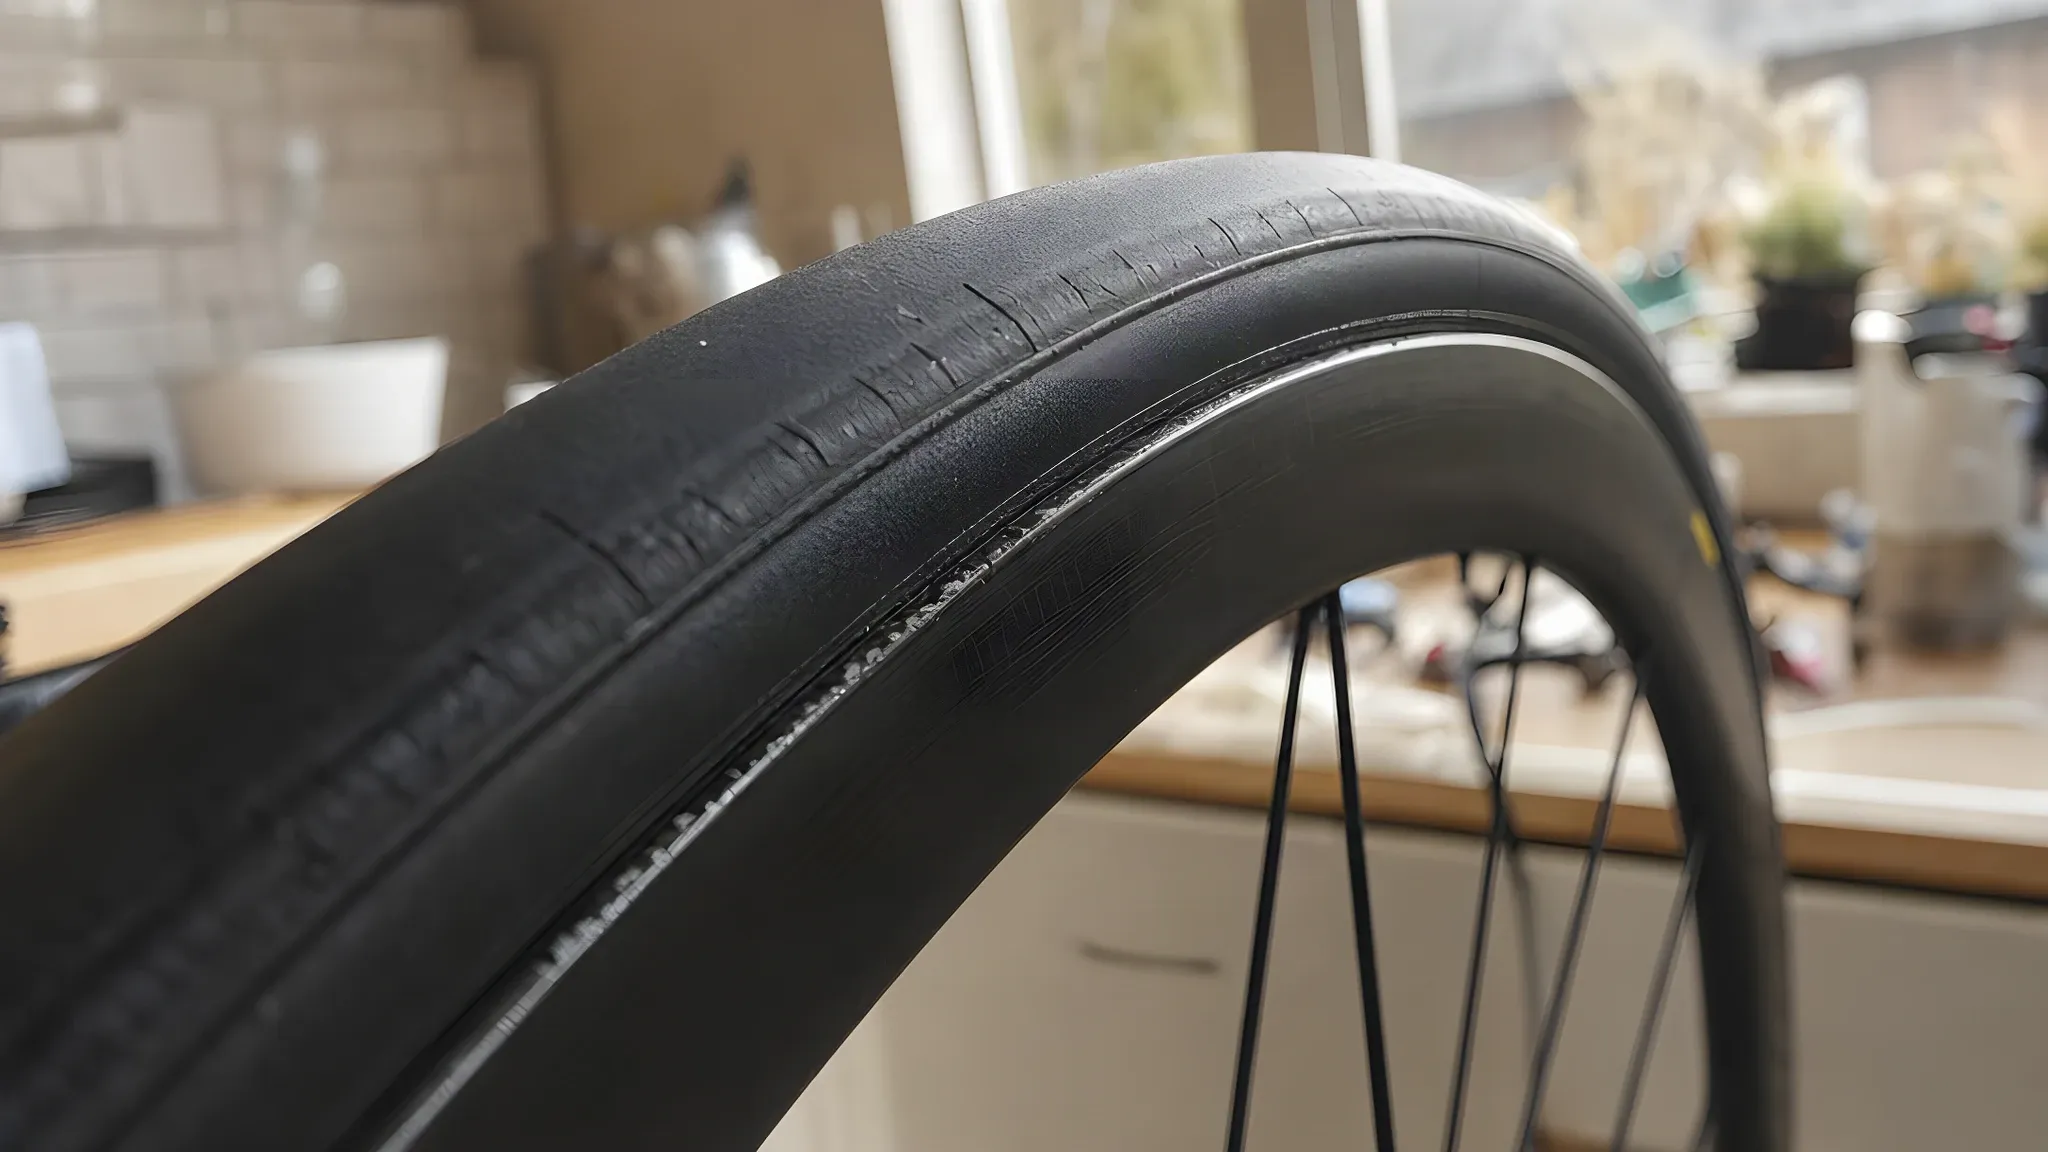
That line, moulded just above the bead, should sit the same distance from the rim edge all the way round, on both sides. Cyclist's test is to look for any point where the tyre pinches in.
Which pump seats a tubeless tyre?
A track pump seats many tyre and rim combinations once the core is out and the beads are wet. A booster pump or a compressor is for the combinations it does not, and a hand pump is for topping up a seated tyre.
- Track pump (floor pump). Schwalbe lists it first for the first inflation and Silca calls it the most preferred method. Muc-Off adds the limit: high-volume 29er mountain bike tyres may hold too much air for a track pump to produce the rush.
- Hand pump. None of the maker instructions opened for this guide names one for seating. Use it to top up a seated tyre, core in.
- Booster or charger pump. A chamber you fill, then release in one burst. Topeak's JoeBlow Booster manual charges the chamber to 160 psi (11 bar); that is the chamber's pressure, not the tyre's, and the same manual says not to exceed the tyre's maximum.
- Compressor. Stan's says one may be necessary for some tyres and Park Tool calls it highly recommended. Use a Presta head and a gauge, read the pressure with the air stopped, and keep the same ceiling.
- CO2 cartridge. Muc-Off says a CO2 inflator seats the bead instantly. Silca calls it the last resort because CO2 lowers the sealant's pH; Schwalbe says not to use CO2 at all, Continental does not recommend it with sealant and Stan's says it degrades liquid latex. Muc-Off's sequence avoids the conflict: seat dry, deflate, add sealant, reinflate with a pump.
How to inflate and seat a tubeless tyre step by step
This order gives a track pump its best chance before anything stronger comes out: air path clear, beads centred and wet, core out, then speed.
1. Check the valve and the air path
Stan's says the tyre beads must sit either side of the valve hole, not over it, and Schwalbe says the valve must be between the beads when inflating. Tighten the valve nut by hand only: Stan's says pliers tear the rim strip, and DT Swiss gives a limit of 0.5 Nm. Check that the pump head seals on the valve.
2. Centre the tyre in the rim well and wet both beads
Push both beads down into the centre channel all the way round, as Stan's instructions describe, and centre the tyre before inflating, as Schwalbe's fitting guide says.
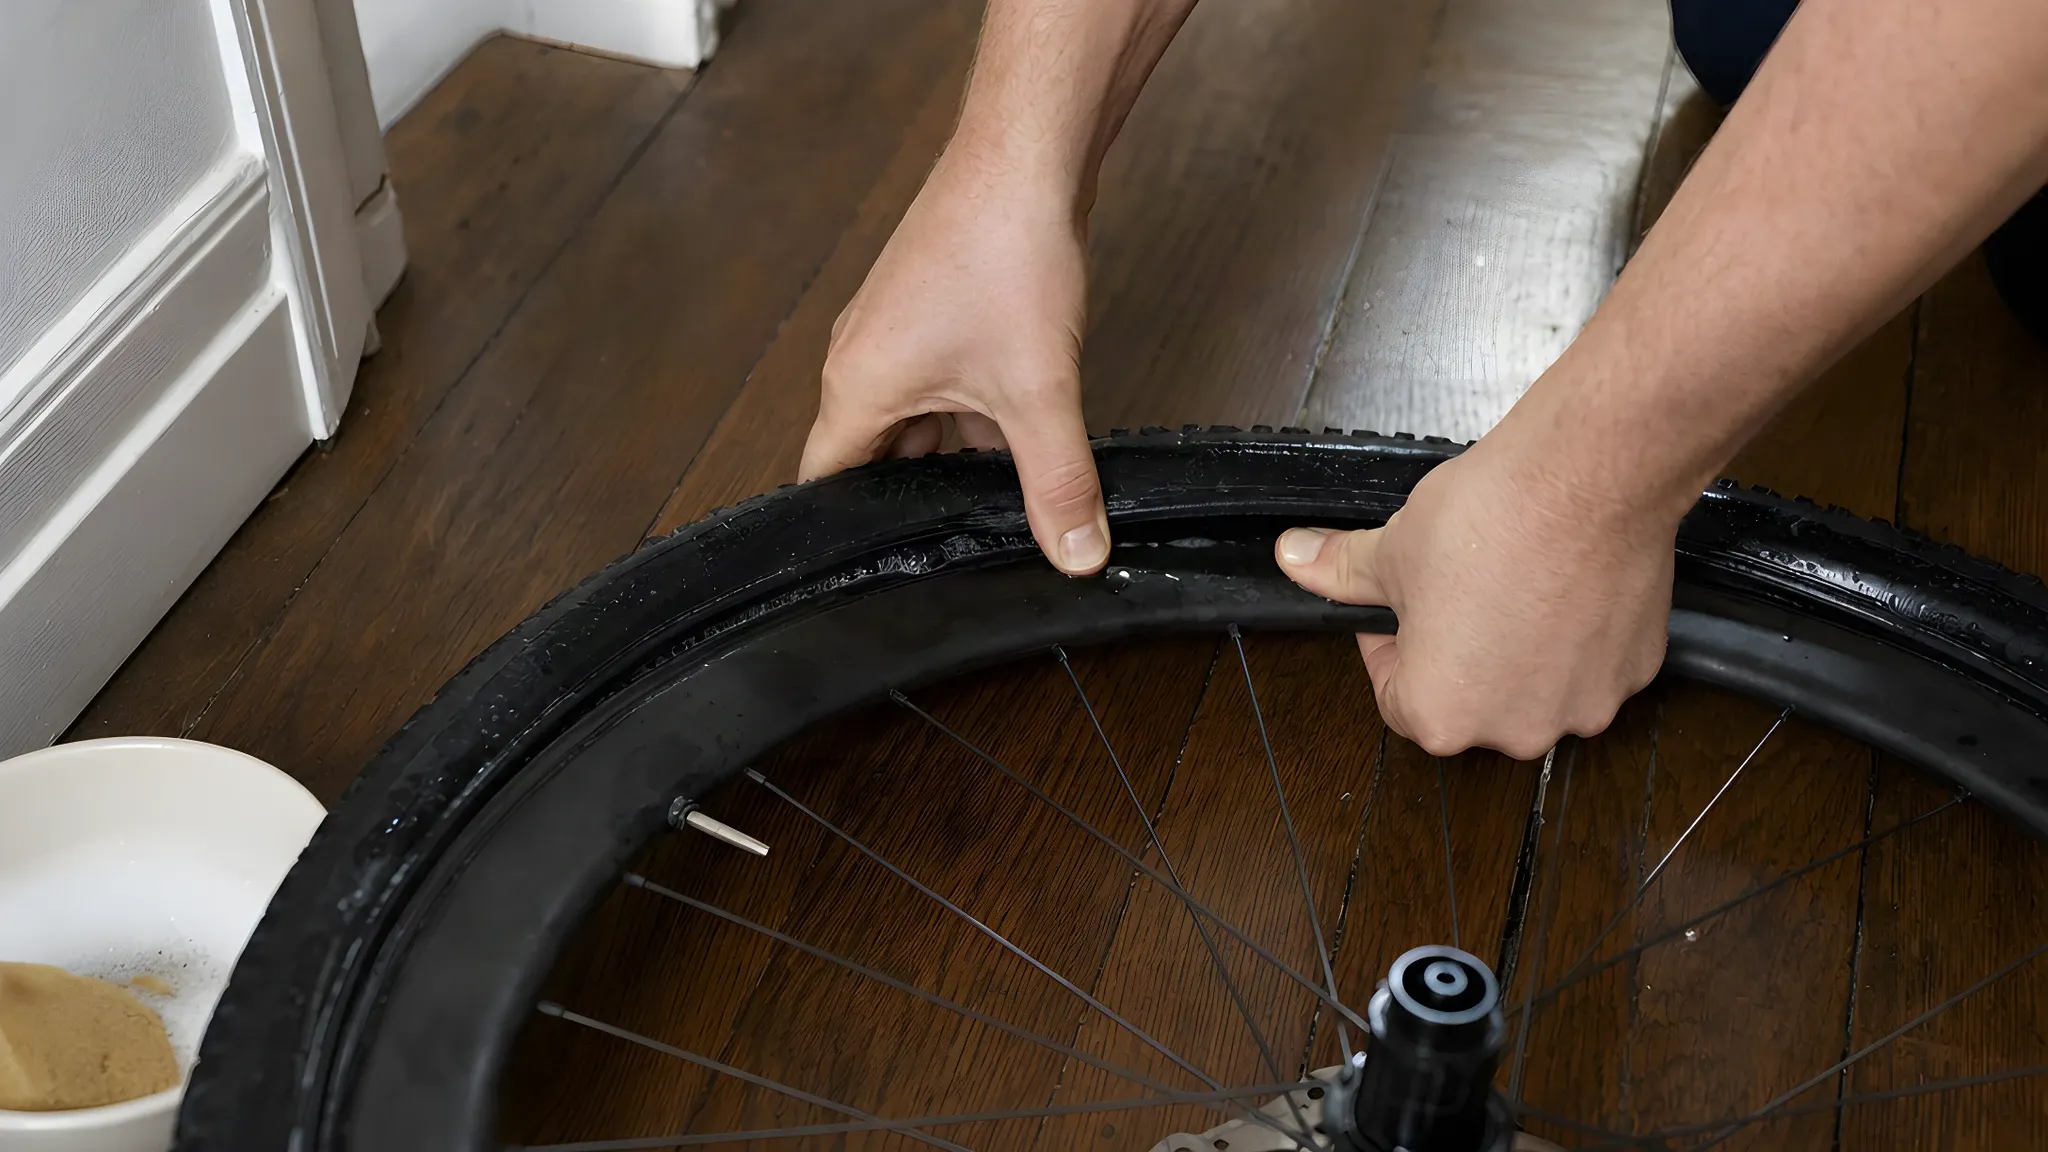
Wet the beads where they meet the rim. Schwalbe says to coat both beads with assembly fluid so they slide into position; Stan's uses soapy water, Cyclist a sponge of washing-up liquid solution, and Silca a heavy soap mixture or a little sealant on the bead.
3. Take the valve core out
Unscrew the core with the core tool and put it somewhere safe. Schwalbe, Stan's, Muc-Off and Silca give the same reason: with the core out, more air passes through the valve per stroke.
4. Pump hard and fast, watching the gauge
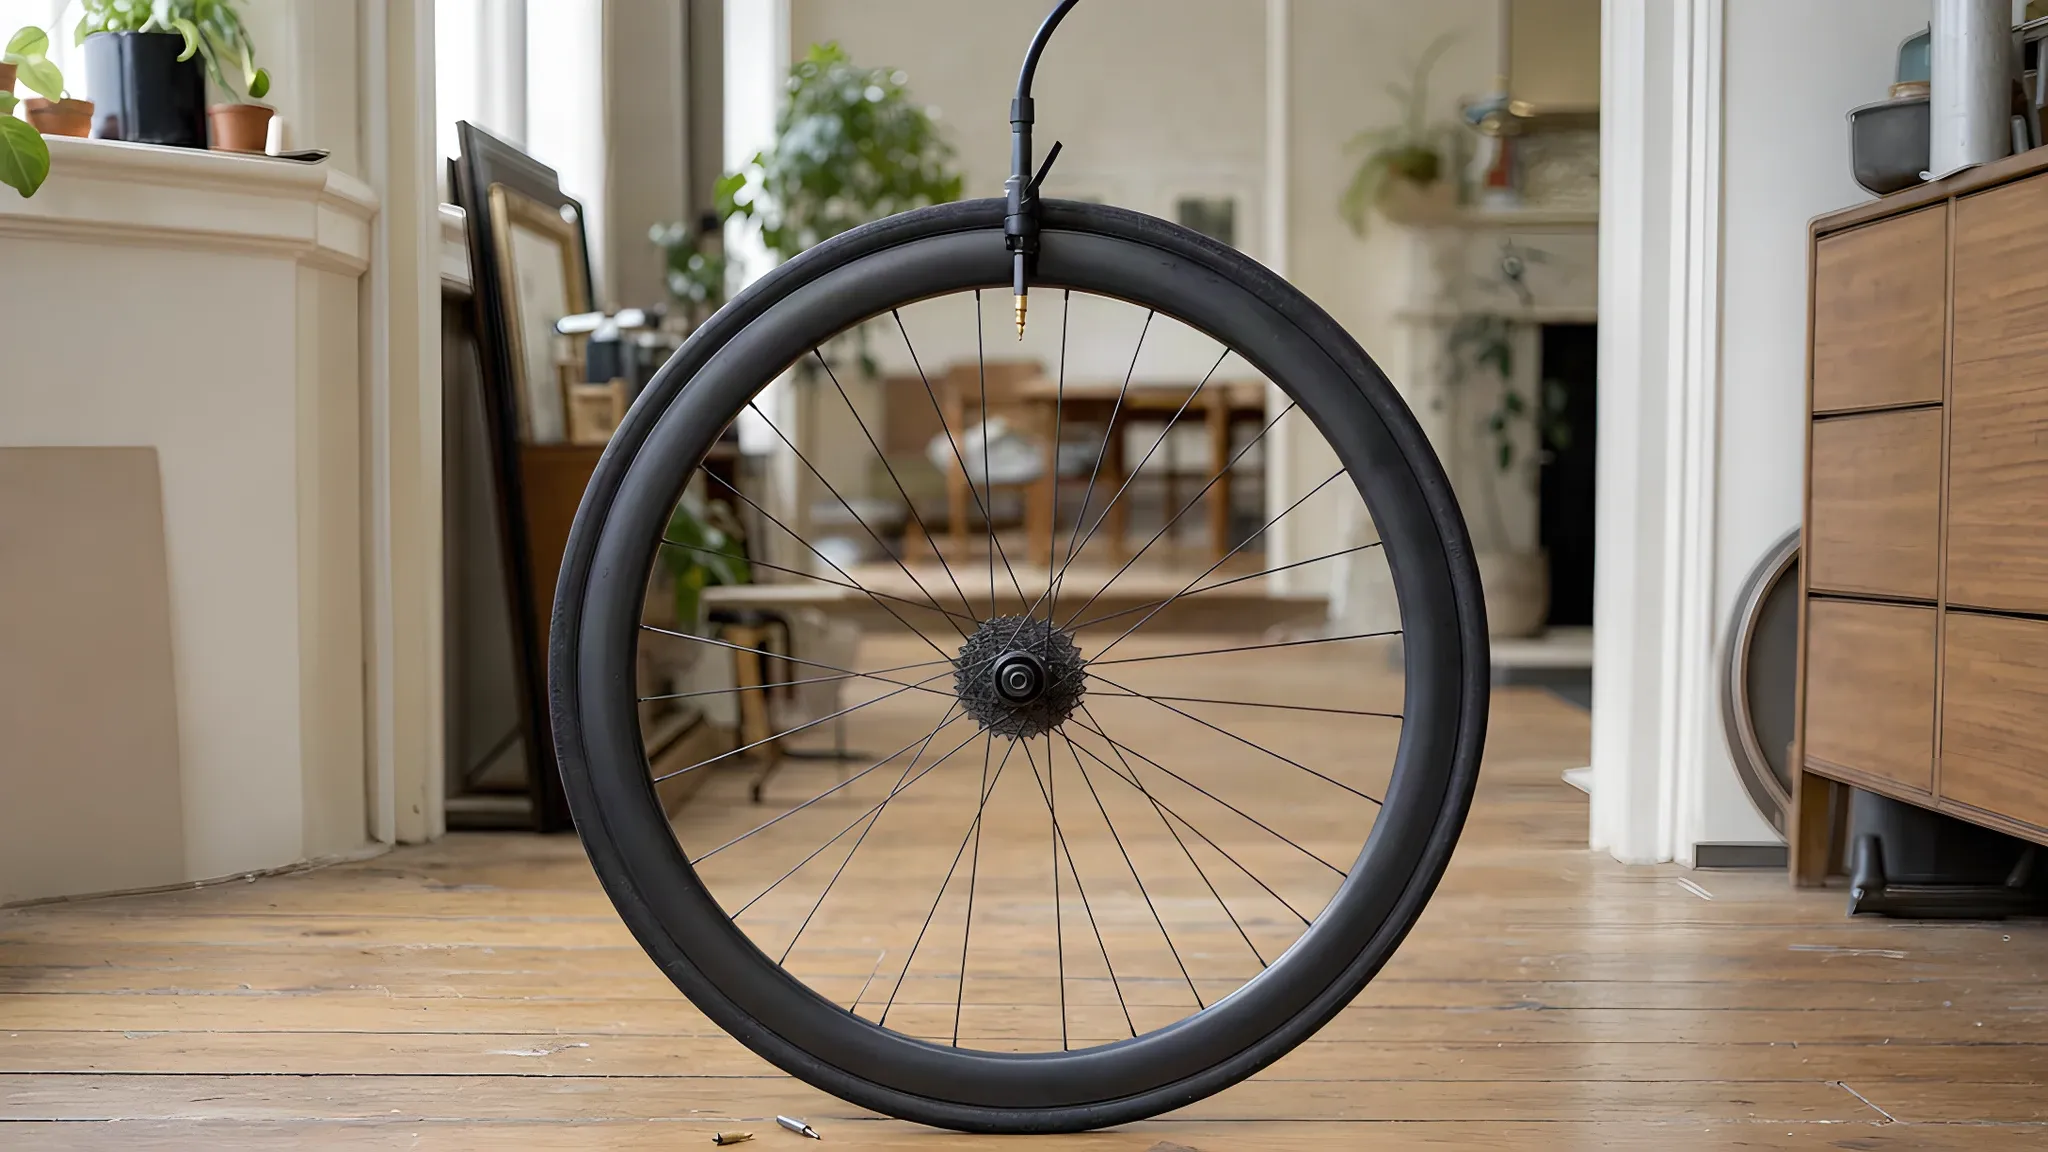
Fix the pump head over the empty valve stem and, in Muc-Off's words, pump as hard and as fast as you can until you hear the pop. Cyclist describes the moment as a couple of quick pumps, then the tyre catching onto the rim seats.
Stop if the gauge nears the lower maximum without a pop, if a bead lifts out or the tyre bulges, or if air hisses out at the rim all round. Topeak's rule for its booster is the same: if inflation fails, deflate and check tyre, rim and valve.
5. If it will not seat, deliver the air faster
Re-wet the beads, recentre the tyre and try once more. If the beads still will not lift, switch to a booster pump or compressor, or use the inner tube method below.
6. Check the bead line on both sides
Turn the wheel slowly and look at the moulded line above the bead on each side. A section that sits low is not seated. For a low section, Park Tool's instruction is to deflate, break the bead at the low point, lubricate it with soapy water and reinflate.
7. Add sealant, refit the core and inflate again
Muc-Off's order after the pop: release the air, add the sealant, replace the core and reinflate. Schwalbe gives the same sequence for Doc Blue. The amount is the sealant maker's figure for your tyre, covered in our guide to tubeless tyre maintenance.
Continental says to put the valve at about 5 or 7 o'clock when adding sealant so it flows into the tyre. A bead can drop back into the well as the tyre deflates, so check the line again after the second inflation.
Park Tool says to spin the wheel and rock it to spread the sealant to the beads, and Continental recommends a short test ride straight after installation. Set your riding pressure, then check it the next morning.
How to seat a tubeless tyre without a compressor
The work is done before the pump: core out, beads wet and centred, then a fast track pump, which Muc-Off and Silca both describe seating the bead. A booster pump stores the burst a compressor would give.
When the track pump fails twice, the home method is an inner tube. Schwalbe's tubeless guide says to mount the tyre with a tube beforehand and leave it for 24 hours, which stretches the bead and brings it into the right shape. Inflate the tube inside the tyre's range and leave the wheel overnight.
Next day, let the tube down, lever off one bead only, take the tube out and refit the tubeless valve, so the other bead stays up on its shoulder. Wet the loose bead, core out, pump as before. The tube shapes a stiff new tyre; it does not change a tyre that is wrong for the rim.
Why won't my tubeless tyre seat or inflate? Troubleshooting by symptom
Match the symptom to one check at a time, quickest and most reversible first:
- The pump feels blocked and no air goes in. Check the air path first: Presta tip open, head fully on, core clear. Zipp says drying sealant pools and can clog valves; Muc-Off's instructions for a replacement core are to remove the old one, clear dried sealant from the stem and fit the new one.
- Air hisses out at the bead and the gauge will not climb. The beads are not touching the rim walls. Recentre the tyre, wet both beads again, confirm the core is out and pump faster. If that fails twice, the combination needs a booster or a compressor.
- One side seats and the other does not, or one section stays low. Park Tool's instruction: deflate, break the bead at the low point, lubricate with soapy water and reinflate. Then check the line all the way round.
- The beads pop, then the tyre leaks down. Check the bead line, then the valve base and spoke holes. Stan's says a strip split beyond the valve hole leaks at the valve; Zipp says sealant on the spoke nipples means damaged tape. A seated, even tyre that still loses pressure belongs in our losing-air guide.
- Air or sealant comes out of the spoke holes or around the valve base. Stop and deflate: the tape or valve seal has failed, and Zipp names tyre levers as the main cause of torn tape. Do not tighten the valve nut harder. Retaping is in our set-up guide.
- The tyre seats today but is soft tomorrow. Giant says a few psi lost after installation is not unusual. Beyond that, diagnose the leak with the losing-air guide, or, if you find a hole, follow our guide to tubeless puncture repair.
What not to do
- Do not pump past the lower of the tyre's and the rim's maximums. Schwalbe, Continental, Stan's and DT Swiss state the rule, and Topeak's booster manual repeats it.
- Do not squeeze the tyre while fitting the pump head. Topeak says it can separate the tyre from the rim and spoil the seal.
- Do not use CO2 with sealant in the tyre if your sealant maker says no. Schwalbe says not to use CO2 cartridges, and Continental does not recommend them with sealant.
- Do not tighten the valve nut with pliers. Stan's says it tears the rim strip; DT Swiss says hand tight, 0.5 Nm at most.
When it is a job for a mechanic
- The bead line stays uneven after the deflate-and-lubricate routine. DT Swiss says to have the tyre seat checked by a professional if in any doubt.
- Air comes from the spoke holes or around the valve base. The tape or the valve needs replacing before the tyre can seal, and the tyre has to come off to do it.
- A damaged bead, a cut tyre, or a rim you are not sure is approved for the tyre. Continental's advice is to replace damaged parts, and a hookless rim needs a tyre from the wheel maker's list.
- No booster or compressor at home, and the track pump has failed twice. Tyred's puncture repair covers tubeless tyres, from £30 with a new tyre not included; the mechanic brings a track pump and inner tubes.
A mechanic comes to you with a fully stocked workshop, 9am to midnight, seven days a week, across London.
Book a repair · About mobile puncture repair →
Related guides
Sources and further reading
- Schwalbe: tubeless, the strong blast of air from a floor pump, compressor or Tire Booster, assembly fluid on both beads, the valve between the beads, the audible snap, checking the tyre sits on its line, the lower of the rim's and tyre's maximum pressures, no CO2 cartridges, mounting with a tube for 24 hours and removing the valve insert to add Doc Blue.
- Schwalbe: bike tyre fitting, centring the tyre before inflating, the rim line, Easy Fit and its sponge applicator and the valve at right angles.
- Continental: tubeless ready, checking rim, tyre, valve and tape for damage, the lowest value to follow, CO2 not recommended with sealant, the valve at 5 or 7 o'clock for adding sealant and the short test ride after installation.
- Stan's: tubeless guide, soapy water on both beads, removing the core, floor pump or compressor to snap the beads, not exceeding either pressure stated on the rim or tyre and checking the bead seat line; and Stan's: troubleshooting, a compressor may be necessary, the beads either side of the valve hole, the bead pushed into the drop channel all the way round, the hand-tight valve nut and the strip split at the valve hole.
- Stan's: Original DART tool, CO2 degrading liquid latex over time and refilling with a floor pump.
- DT Swiss: wheels user manual V2016.01 (PDF), soapy water or installation fluid, the lower of the rim's and tyre's pressures, the tyre contacting the rim evenly around its entire circumference, the professional check if in doubt and the 0.5 Nm hand-tight valve nut.
- Topeak: JoeBlow Booster user's guide (PDF, 2015), charging to 160 psi / 11 bar, the bead snapping in on the blast, not exceeding the tubeless tyre's maximum pressure, not squeezing the tyre when engaging the head, releasing the chamber after use and deflating to check tyre, rim and valve if inflation fails.
- Silca: how to seat and inflate a tubeless tyre, the floor pump as the preferred method, removing the core, sealant or a heavy soap mixture on the bead and CO2 as the last resort because it lowers the sealant's pH.
- Muc-Off: how to seat tubeless tyres, 3 easy ways without a compressor (May 2023), removing the core, pumping as hard and as fast as you can, the limit on high-volume 29er tyres, the air chamber pump, CO2 seating the bead instantly and the release-sealant-core-reinflate order; and Muc-Off: replacement valve core, removing the old core, clearing dried sealant from the stem and fitting the new one.
- Zipp: tubeless troubleshooting, sealant on the nipples as a sign of damaged tape, tyre levers tearing tape, and drying sealant pooling and clogging valves.
- Park Tool: tubeless tyre removal and installation, soapy water on a tight bead, the compressor recommendation, inflating to the label maximum to seat, breaking the bead at the low point and relubricating, and spinning and rocking the wheel to spread sealant.
- ENVE: hookless rim technology 101, the ETRTO maximum pressures for hookless road rims by tyre width.
- Giant UK: hookless technology, the 72.5 psi (5 bar) threshold; and Giant UK: a guide to tubeless road tyres, the track pump in many cases, the sharp burst of air, the pop and losing a few psi after installation.
- BikeRadar: how to set up road tubeless tyres (Jack Luke, June 2019), the track pump, the swift blasts of air and the pings until the tyre is seated around the full circumference; and BikeRadar: how do I fit stiff tubeless tyres? (Katherine Moore, July 2025), the bead in the central well and washing-up liquid as a bead lubricant.
- Cyclist: how to fit tubeless tyres (Joseph Delves and Stu Bowers, February 2024), the compressor, reservoir pump, CO2 if compatible with the sealant and the track pump, removing the core, the couple of quick pumps, the loud pop, the washing-up liquid sponge and checking the edge of the tyre for pinching.
- WTB: how to set up tubeless bike tyres like a pro (Heather McFadden, August 2025), inflating quickly to snap the beads, soapy water with a floor pump, a compressor or inflator canister if the tyre is not seating, and spinning and shaking to spread sealant.