Tubeless tyre maintenance: checking, topping up and replacing sealant
Tubeless sealant care: how long it lasts by maker, how much per tyre width, the cable tie check, topping up through the valve and when to clean it out.
Written by the tyred mechanics
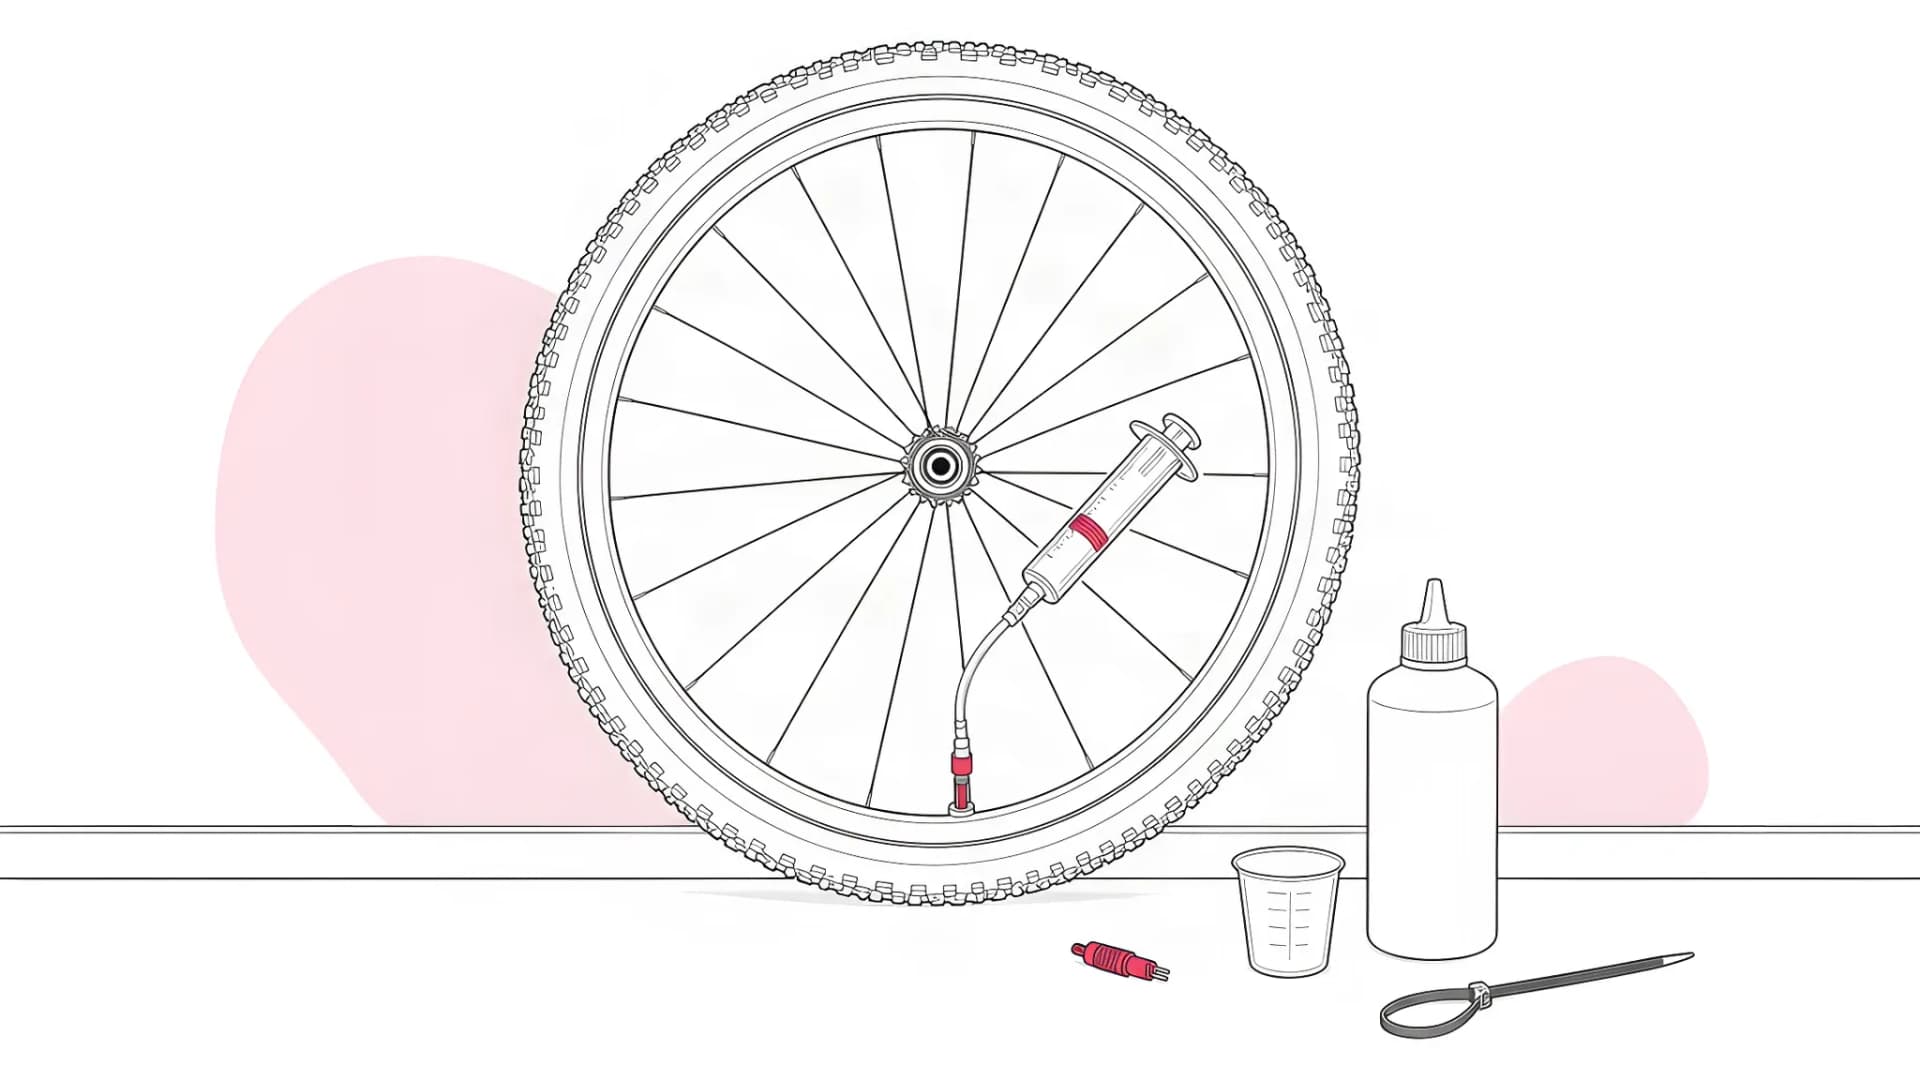
Short answer: tubeless tyre maintenance is mostly sealant care: check that the sealant inside the tyre is still liquid, top it up when it runs low and clean out what has dried. Stan's and Schwalbe both give their sealant 2 to 7 months of life, so check it every three to six months and before a long ride. A tyre that holds air can still have dry sealant in it.
How long does tubeless sealant last?
Tubeless sealant stays liquid for a few months, and the figure depends on whose bottle you bought. The makers' own figures:
- Stan's Original. 2 to 7 months on the product page; Stan's sealant support page gives an average of 2 to 6 months, with temperature, humidity, riding, storage and casing thickness as the variables.
- Schwalbe Doc Blue. Around 2,000 km or 2 to 7 months, varying greatly with ambient temperature. After that it dries into a rubber film or separates into "latex coral" and fluid.
- Muc-Off. Up to 6 months or more in temperate climates for the MTB sealant; 3 to 6 months for the Road & Gravel sealant.
- Peaty's Holeshot. Up to 6 months in a temperate climate, "and a lot of the time beyond".
- Silca Ultimate. 6 months, with Silca's replenisher added every 90 to 120 days to extend that to a year.
- Continental. No figure. Continental says sealant performance may decrease with time and advises replacing or refilling it at intervals.
The figures disagree because the conditions do. milKit's FAQ says sealant dries faster in summer heat, Stan's says a cooler storage spot is better for it, and sealant is used up each time it seals a hole. London's weather is mild, but a radiator in a hallway is not.
How often should you check or top up tubeless sealant?
Check tubeless sealant every three months and top it up when the check shows it low. The published intervals:
- Stan's: check or refresh quarterly.
- Muc-Off and Cycling UK (Dan Joyce): check and top up every six months.
- BikeRadar (Oscar Huckle, June 2025): top up every three to six months, and take the tyre off for a full inspection every 12 to 18 months.
- milKit: check after about 3 months; at least every 3 months for riders out several times a week, 4 to 6 months from one fill for occasional riders, and a full replacement before each season after a winter off.
- Schwalbe: once the system is airtight you do not necessarily have to refill, but check and replace the fluid before a competition or a longer tour.
Four moments call for a check whatever the calendar says. The first long autumn ride after a summer of short commutes; a bike that has stood for a month; a puncture that sprayed sealant; and a tyre that needs air more than it used to, because Hunt's road tubeless guide names dried sealant as a cause of pressure loss.
Write the sealant brand and the date on a strip of tape under the top tube, so the intervals above have a start.
How to check the sealant level in a tubeless tyre
Check tubeless sealant with a shake and then a dipstick through the valve. The shake tells you whether any liquid is left; the dipstick tells you how much.
1. Lift the wheel and shake it
Hold the wheel off the ground and rock it from side to side. Liquid sealant sloshes; silence means it has dried or gone. A slosh does not tell you whether 5 ml or 50 ml is left, so go on to step 2.
2. Deflate and remove the valve core
Let the air out with the valve at the top or the side. Park Tool's tubeless guide says to assume there is sealant inside and keep the valve away from the downward position, so the escaping air does not carry sealant out. Then unscrew the core with a valve core tool.
3. Turn the valve to six o'clock and dip a cable tie
BikeRadar's method: position the valve at the bottom so the sealant pools around it, push a cable tie down through the valve and read the wet mark. More than a centimetre of sealant on the tie and you are fine. Schwalbe gives the same test with a needle.
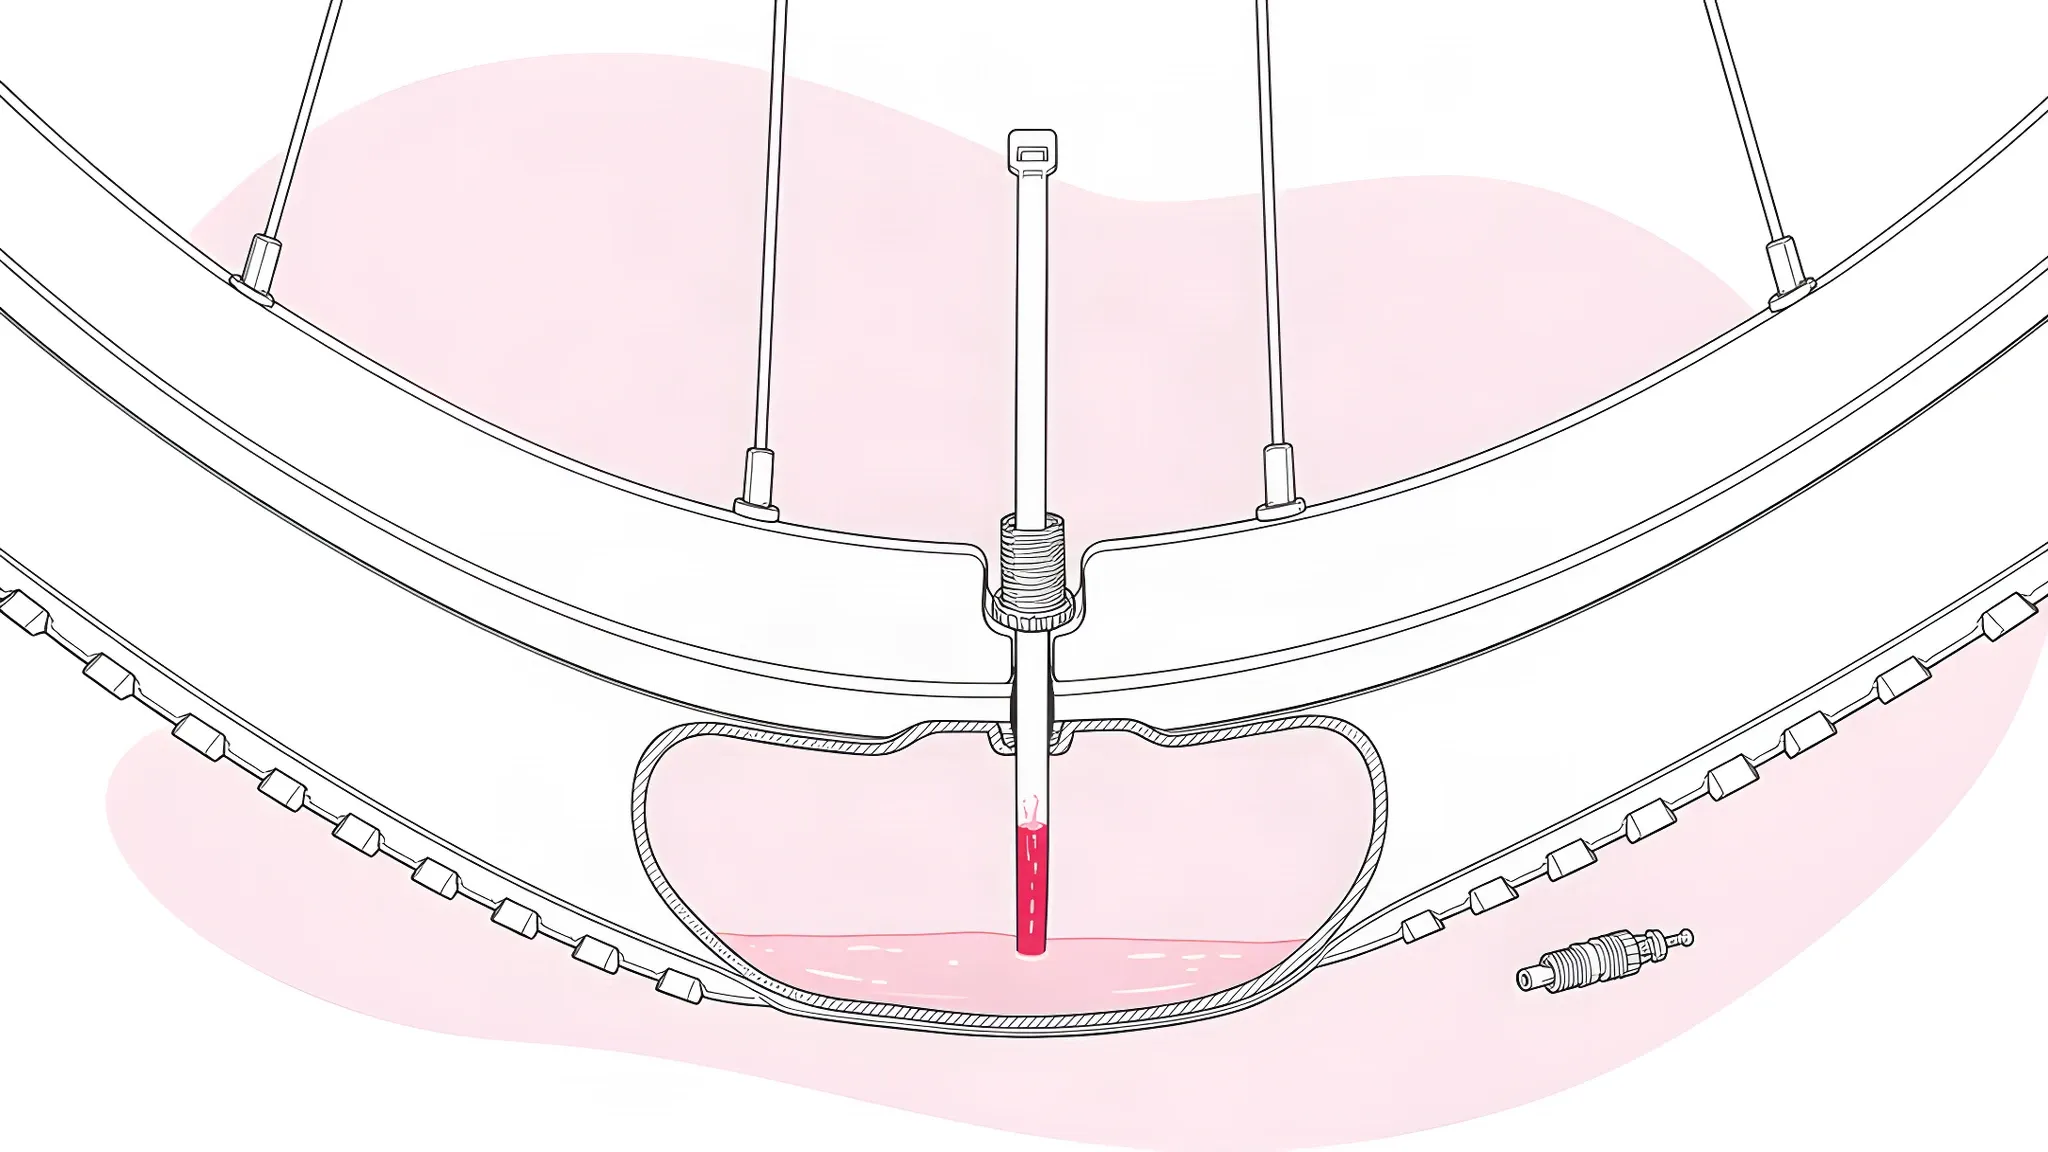
Where the valve has an insert, a fixed core or a blocked passage, lever a section of one bead off over a tray instead, which BikeRadar suggests as the way to inspect the sealant closely. What you find decides the job:
- Liquid above the centimetre mark and still milky. Refit the core, inflate and ride. Note the date.
- Liquid below the mark, or only a damp tie. Top up with a compatible sealant, as in the steps below.
- A dry film, rubbery lumps, or sealant separated into "latex coral" and water. Clean the tyre out and start with a fresh fill.
- Plenty of good sealant, and the tyre still loses pressure. Low sealant is not the fault. Our guide to a tubeless tyre losing air works through tape, valve and bead leaks.
How much tubeless sealant do you need per tyre?
Between 30 and 60 ml for a road tyre, 50 to 90 ml for gravel and 100 to 140 ml for a 29er, with the chart of the sealant you bought as the final word. Measure in millilitres with a syringe or the scale on the bottle.
Width decides the dose, not the "700c" on the sidewall: Stan's lists 50 ml for a 700x28 and 95 ml for a 700x50. Our bike tyre sizes guide shows where to read the width. The makers' figures per tyre, for a first fill:
- Road 700x25 to 28. Continental 30 ml; Peaty's 30 to 45 ml; Muc-Off 40 to 50 ml for 23c and 25c and 50 to 60 ml for 28c; Stan's 50 ml for 700x28; Schwalbe 60 to 90 ml for any tyre from 23 to 60 mm wide.
- 700x32 to 35. Stan's 55 ml for 700x32; Peaty's rule of 2 ml per millimetre of width gives 64 ml for a 32 mm tyre; Schwalbe 60 to 90 ml.
- Gravel 700x40 to 45. Continental 50 ml; Stan's 60 ml for 700x40 and 80 ml for 700x45; Peaty's 60 to 75 ml for cyclocross; Muc-Off 70 to 80 ml for 30c to 45c; Schwalbe 60 to 90 ml.
- 27.5 x 2.3 to 2.5. Muc-Off 60 to 75 ml for 26" and 27.5" tyres; Peaty's 70 to 90 ml; Stan's 100 to 110 ml.
- 29 x 2.2 to 2.5. Continental 70 ml; Schwalbe 60 to 90 ml up to 60 mm wide and 90 to 120 ml from 62 mm; Stan's 100 to 125 ml; Peaty's 100 to 120 ml; Muc-Off 105 to 140 ml.
Three adjustments to the chart:
- A new tyre takes more. milKit says a new casing absorbs part of the first fill, and Stan's troubleshooting page says porous tyres may need a refresh shortly after setup.
- Wide rims and extra protection. Peaty's says to add up to 30 ml for wider rim and tyre combinations or more puncture protection. Treat that as the ceiling: beyond it, sealant is weight.
- A top-up is not a full dose. Measure what is left and top up to the chart figure, not by it. Silca's replenisher schedule, as road.cc reports it, is 30 ml at three months, 45 ml at six and 60 ml at nine for a road tyre up to 30 mm wide.
How to top up tubeless sealant
Top up through the valve with the core removed, or through a lifted bead when the sealant will not pass a valve. The through-valve method leaves the tyre on the rim.
1. Prepare
Buy the sealant already in the tyre, or one its maker says is compatible (see mixing, below). Shake the bottle hard: Stan's says its sealing crystals settle, and Muc-Off says the same of its bamboo particles. Deflate with the valve away from the bottom, and put cardboard under the wheel.
2. Add through the valve
Remove the core and turn the valve to where sealant can flow in without pooling at the valve. Continental says 5 or 7 o'clock, not the lowest point; Muc-Off's road instructions fit the pouch at 12 o'clock and rotate the wheel to 6 o'clock to squeeze.
Push the syringe hose or pouch onto the valve and inject the measured amount slowly, the de-cored valve method Peaty's and Stan's both describe. If the plunger meets resistance, stop: a blocked valve or core is cleaned, not forced.
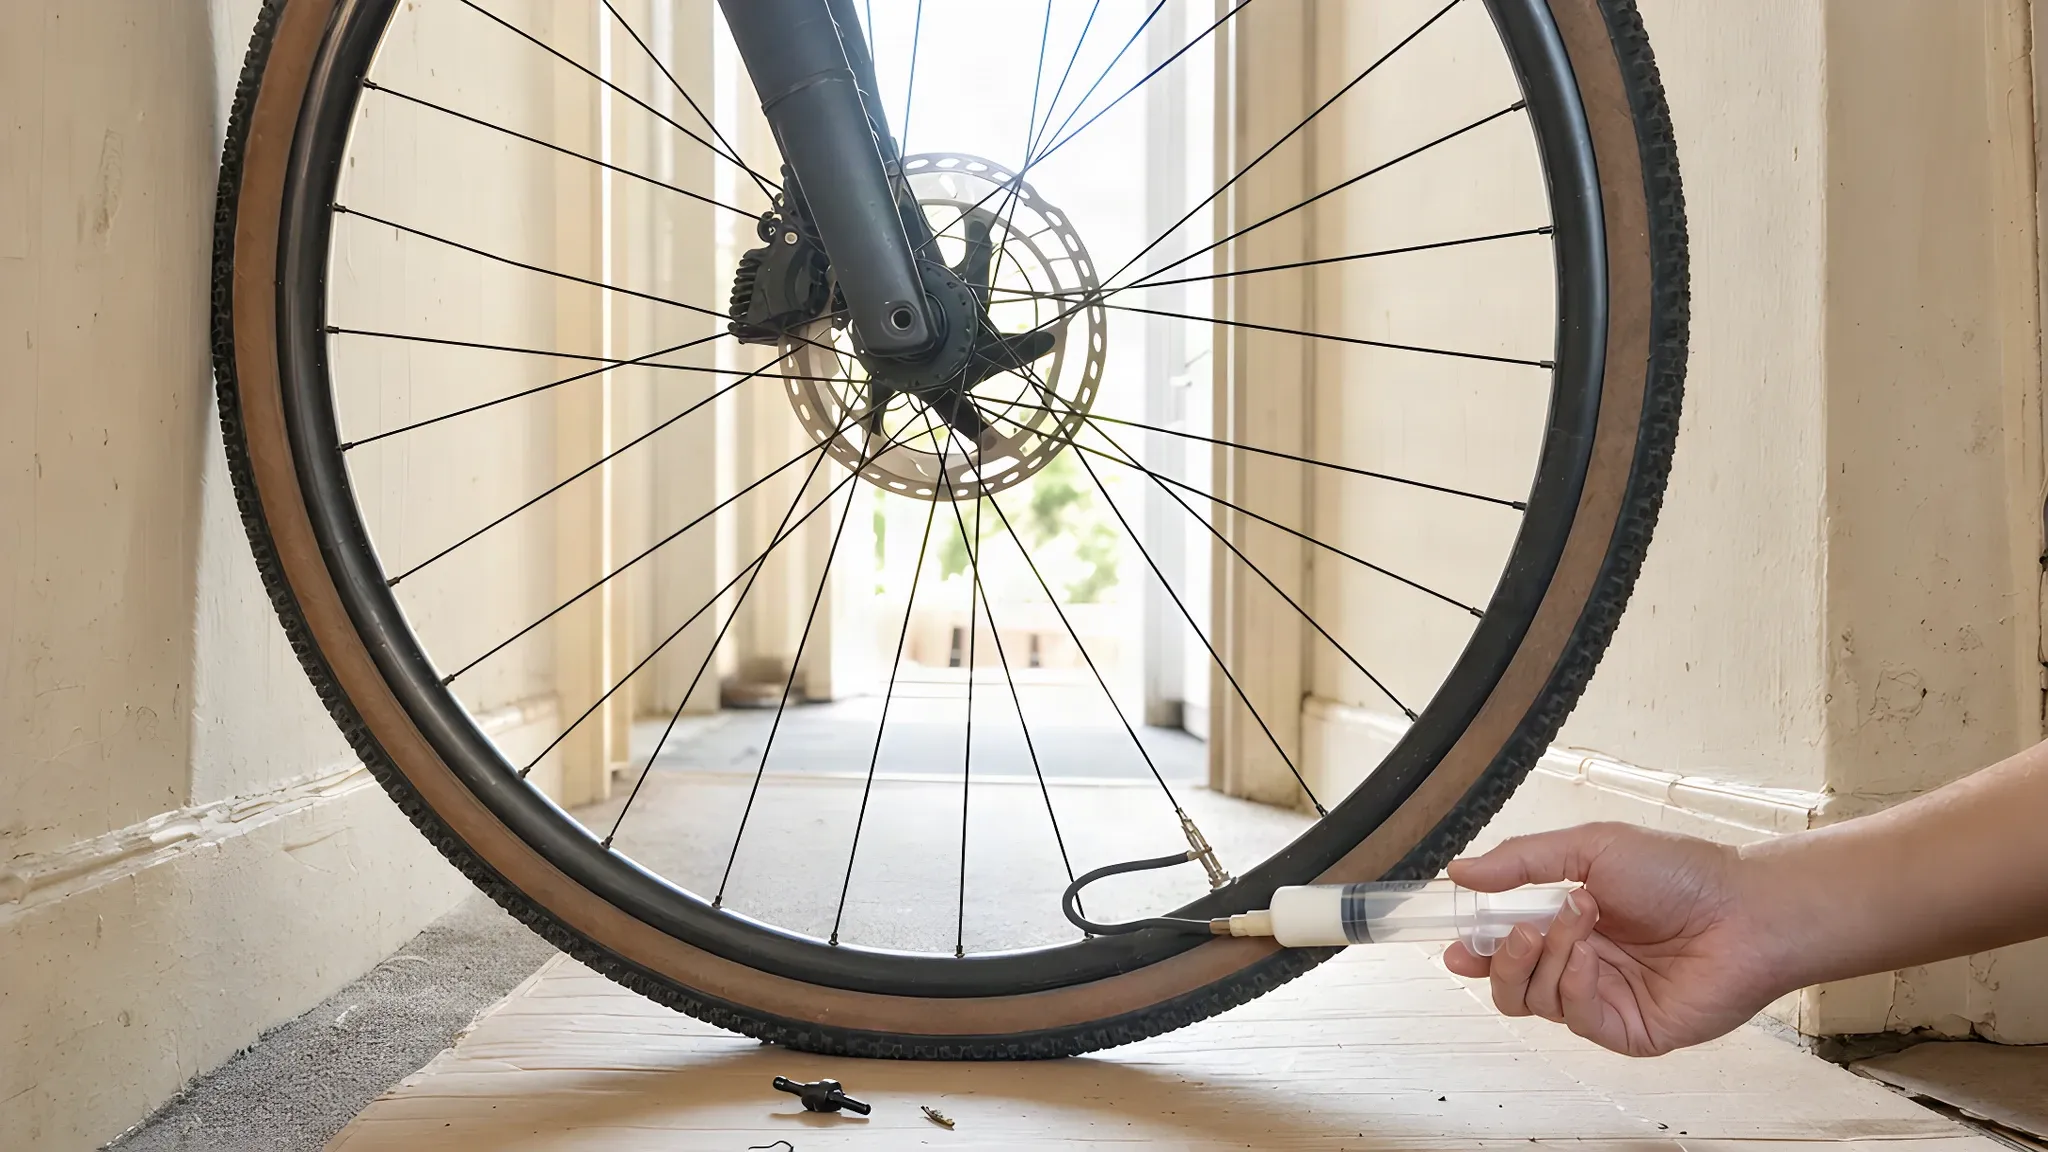
3. Or add through the bead
Some sealants are too thick or fibrous for a valve: Silca says its Ultimate Tubeless Sealant must be poured in and is not injector compatible, and Stan's says direct pour is a requirement for its Race Sealant. Lever a short section of one bead off and pour in the measured dose.
Park Tool's method is to rotate the wheel slowly so the liquid stays at the bottom while the open bead comes to the top, then press the bead back on by hand. Schwalbe gives the same pour-before-the-second-bead method. Keep the pool off the rim tape.
4. Refit, inflate and distribute
Refit the core and inflate within the lower of the tyre's and rim's limits; our bike tyre pressure guide covers choosing a pressure inside them. Rotate the wheel so sealant reaches every part of the tyre, as Stan's guide instructs; Park Tool adds holding the wheel flat and oscillating it.
Refit the wheel, squeeze the brake, and check the pressure before the next ride, as Continental advises. If a bead will not seat after a pour, our tubeless inflation guide covers seating.
Do you need to remove old tubeless sealant?
Not for a routine top-up: if the dipstick shows liquid and you are adding the same product, refit the core and ride, as BikeRadar's guide says.
Clean the tyre out when the tie comes out dry, when the sealant has turned to lumps, or when you change to a brand whose maker says to wash the old one out. BikeRadar's reason is weight: dried sealant only adds it. The clean-out:
- Deflate with the valve away from the bottom, lever one bead fully off over a tray and pour the old liquid out.
- Peel the dried latex out by hand. Stan's says a dry rag is sufficient for cleaning out regular sealant. A thin, even coating that is stuck fast can stay.
- Look at what the sealant was hiding: glass or thorns still in the tread, cuts in the casing, lifted rim tape and a cracked valve seal.
- Take the valve out and clean it, as Schwalbe and BikeRadar both describe.
- Refit the bead, add a full first-fill dose from the chart above, inflate and distribute.
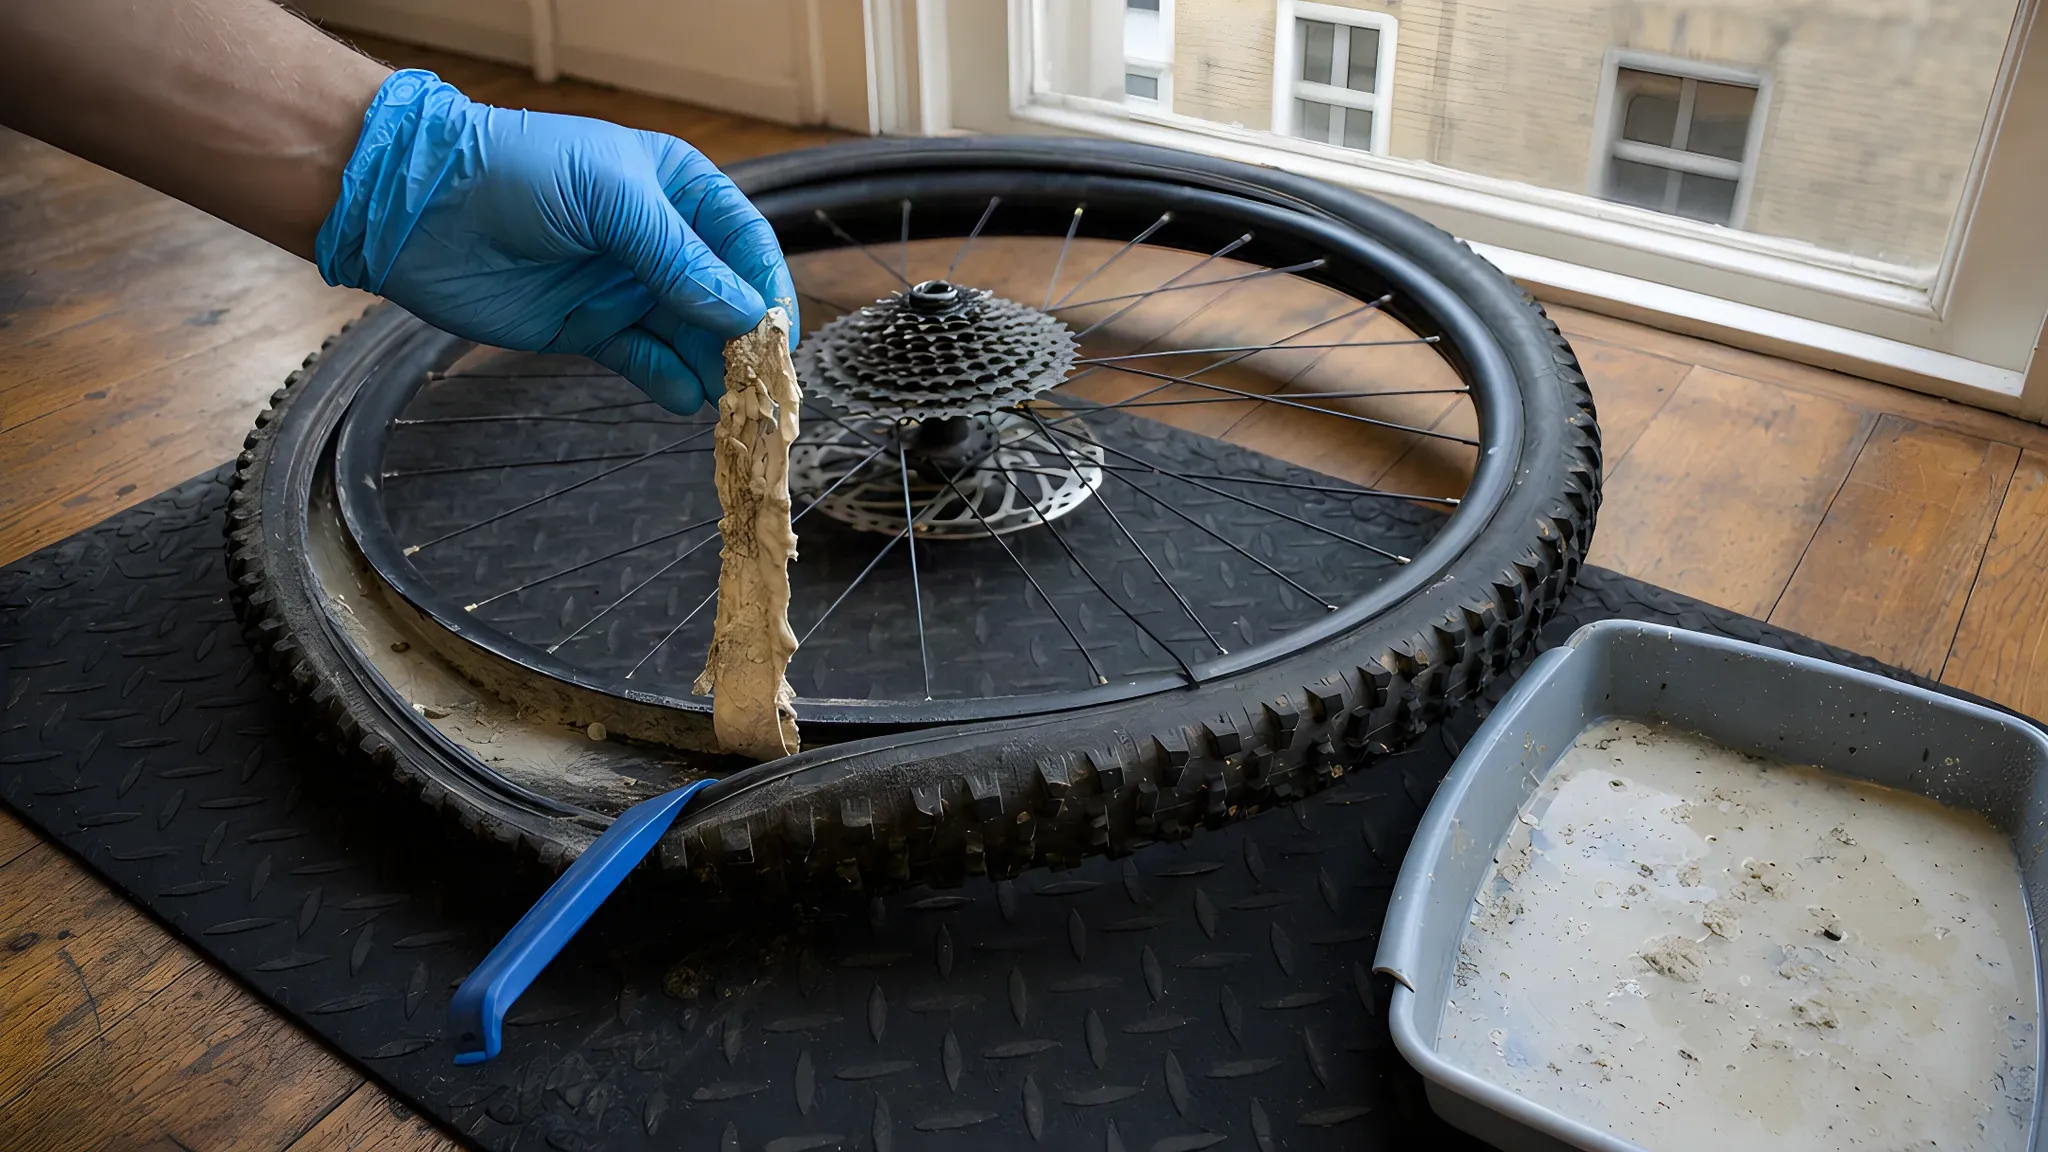
Do not scrape at the rim tape. Damaged tape is replaced, and our tubeless setup guide covers taping and valve fitting. Old sealant does not go down the sink: Thames Water's rule for chemicals, solvents and paint is the local refuse or recycling site, and the bottle's own disposal note applies.
How to clean a clogged tubeless valve core
A clogged core is cleaned or replaced with the tyre fully deflated. Cycling UK lists clogged valve cores among the costs of tubeless, and Stan's says to remove the core with a valve tool and clean or replace it.
The signs: a pump head that will not push air in, a slow inflate, or a cable tie that will not pass the valve. Unscrew the core, pick the dried latex off the pin and threads, and work the pin until it moves freely. A core that stays stiff is replaced, so carry a spare.
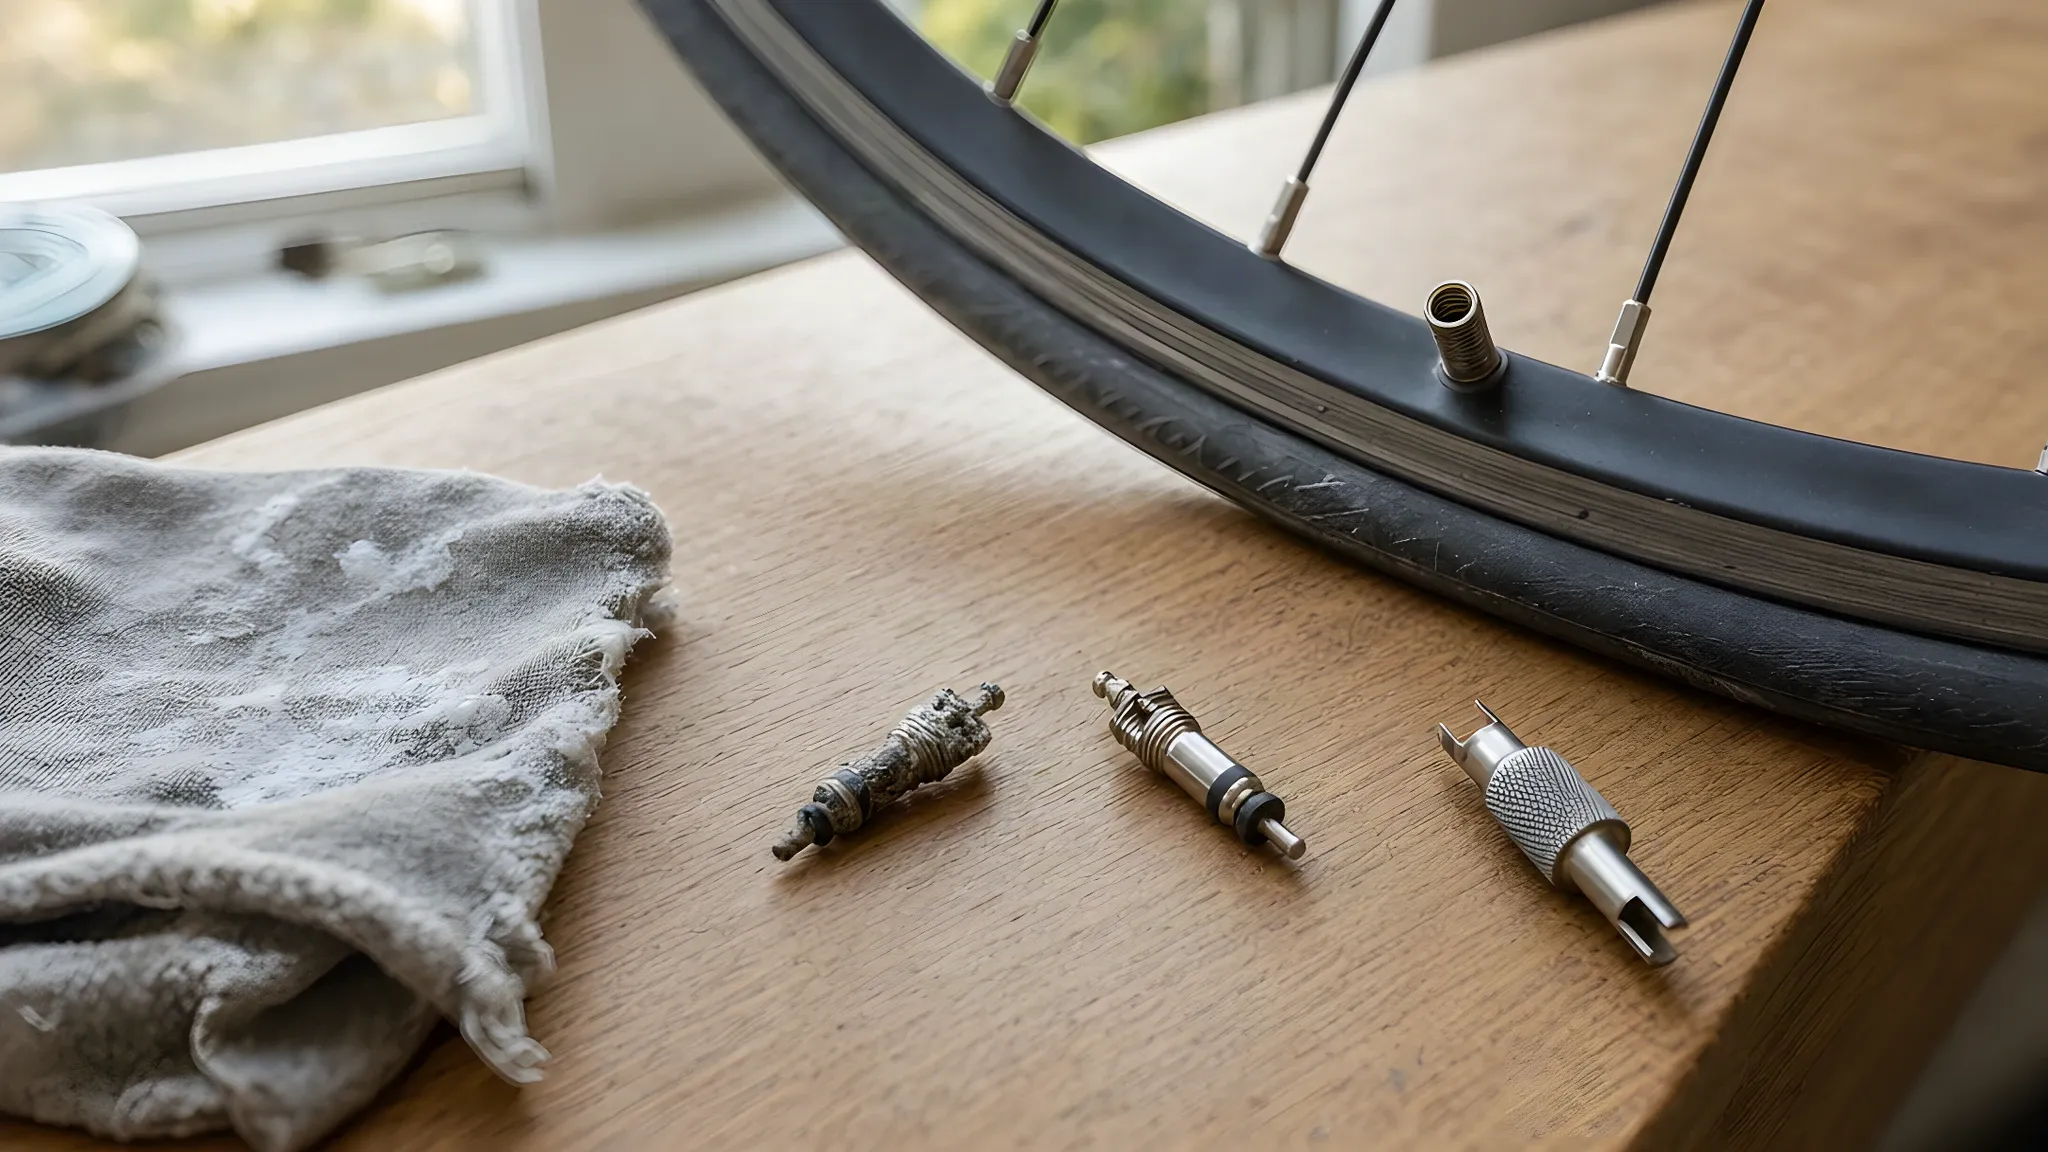
The valve stem clogs too, and BikeRadar suggests taking the whole valve out for a clean when sealant has built up inside it. Prevention: milKit says to wipe the injector needle before every contact with the valve, and Continental says not to inject at the lowest point of the wheel.
Can you mix tubeless sealants?
Only where the maker says so. Both containing latex does not make two sealants compatible. The makers' positions:
- Stan's. Its two formulas can be mixed with each other.
- Peaty's. Holeshot is backwards compatible with Peaty's OG sealant; with other brands, Peaty's says it cannot vouch for compatibility.
- Muc-Off. Wash out any previous sealant before installing.
- milKit. Does not recommend mixing two sealants, especially from different brands.
- Silca. Not with its own previous version or that version's replenisher.
CO2 counts as an additive here. Schwalbe says not to use CO2 cartridges with Doc Blue, Continental does not recommend it with sealant, Silca warns it can harden its sealant, and Stan's says to let it out after the ride. Muc-Off and Peaty's call their sealants CO2 compatible. The roadside side is in our tubeless puncture repair guide.
Storing a tubeless bike: heat, cold and the first ride back
Store the bike cool, and check the sealant before the first ride after any pause. Stan's lists where you store the bike among the things that decide sealant life, with cooler better; milKit says summer heat dries sealant faster, and that in winter it lasts longer but can thicken.
For London that means a bike parked by a radiator is checked at the short end of every range above. A bike in a shed or a bike hangar gets the long end, with thickening to check for after a cold spell.
Riding in the cold is not the problem: Muc-Off and Peaty's rate their sealants from -20 °C to +50 °C. The bike's own winter is in our guide to storing a bike.
When it is a job for a mechanic
- A tyre that loses pressure with good sealant inside, after you have cleaned the valve. The leak is at the tape, the bead or the rim and needs finding with the tyre off.
- A tyre that will not come off the rim by hand, or dried sealant bonded across the casing and tape. Levering hard at a tight bead damages the bead or the rim tape.
- Rim tape lifted or cut under the old sealant, or a valve that will not come out of the rim. The wheel needs re-taping and re-seating.
- A sidewall cut or a bulge found during the clean-out. The tyre needs replacing, and Tyred's puncture page says a new tyre is not included in the £30 repair price.
A mechanic comes to you with a fully stocked workshop, 9am to midnight, seven days a week, across London.
Book a repair · Puncture repair →
Related guides
Sources and further reading
- Stan's: Original tubeless sealant, the 2–7 month life, the 6.5 mm rating, amounts by tyre size and the low-temperature limit; Stan's: how much sealant should I add to my tyres?, the full volume chart; Stan's: sealant support, the quarterly check, the 2–6 month average and its variables, shaking, mixing the two Stan's formulas, CO2, removable cores, the dry rag, no expiry date and 30–60 ml in a tube; Stan's: tubeless guide, injecting with the core removed, direct pour for Race Sealant and rotating the wheel; Stan's: troubleshooting, porous tyres needing an early refresh.
- Schwalbe: tubeless FAQ, Doc Blue's 60–90 ml and 90–120 ml filling quantities, around 2,000 km or 2–7 months, ambient temperature, the rubber film and "latex coral", checking before a competition or tour, removing the valve to wipe out, shaking, pouring before the second bead, no CO2 and the needle test.
- Muc-Off: MTB No Puncture Hassle tubeless sealant, amounts by tyre, 6+ months in temperate climates, the 7 mm rating, -20 °C to +50 °C, shaking the bamboo particles, CO2 compatibility, washing out previous sealant and bottle storage; Muc-Off: Road & Gravel tubeless sealant, 40–50, 50–60 and 70–80 ml, 3–6 months, the 12 and 6 o'clock positions and washing out previous sealant; Muc-Off: how and when to add tubeless sealant, the six-month check and the through-valve steps.
- Continental: tubeless ready, 30, 50 and 70 ml, performance decreasing with time, the 5 or 7 o'clock position, no CO2 and checking pressure before every ride; Continental: RevoSealant, at least 30 ml at first mounting and spinning the wheel.
- Peaty's: Holeshot BioFibre tubeless sealant, amounts by tyre, 2 ml per mm of width, up to 30 ml more, 6 months in temperate climates, the 6 mm rating, -20 °C to +50 °C, CO2 compatibility, compatibility with other sealants and the de-cored valve method.
- Silca: Ultimate tubeless sealant with FiberFoam, pour-in only, not injector compatible, 7.5 mm, 6 months, replenisher every 90–120 days, CO2 hardening, not mixing with the previous version, 3 years unopened and 18 months opened; road.cc: Silca Ultimate Tubeless Sealant Replenisher review (Stu Kerton, November 2022), the 30, 45 and 60 ml schedule and injection through the valve.
- BikeRadar: how often should you change your sealant? (Oscar Huckle, June 2025), three to six months, 12 to 18 months, the cable tie and the centimetre, injector or bead, dried sealant as weight, cleaning the valve, and climate, riding and storage as variables.
- Park Tool: tubeless tyre removal and installation, deflating with the valve away from the bottom, the pour and injection methods, rotating the wheel during a pour, spinning and oscillating to distribute.
- milKit: tubeless FAQ, 2–6 months by maker, the 3-month check and the rider-frequency intervals, summer heat and winter thickening, new casings absorbing sealant, not mixing brands, cleaning or replacing the core and wiping the needle.
- Cycling UK: what are the pros and cons of tubeless tyres? (Dan Joyce), topping up coagulating sealants every six months and clogged valve cores.
- Hunt Bike Wheels: road bike tubeless tyre maintenance and puncture repair guide, dried latex sealant as a cause of pressure loss and the top-up as its fix.
- Thames Water: bin it, chemicals, solvents and paint go to the local refuse or recycling site.