How to service a bike at home: a seven-step DIY guide
How to service a bike at home in seven checks: the tools, what each result means, the adjustments you can make, a working checklist and when to stop.

Written by Conor DonoghueCargo bike mechanic
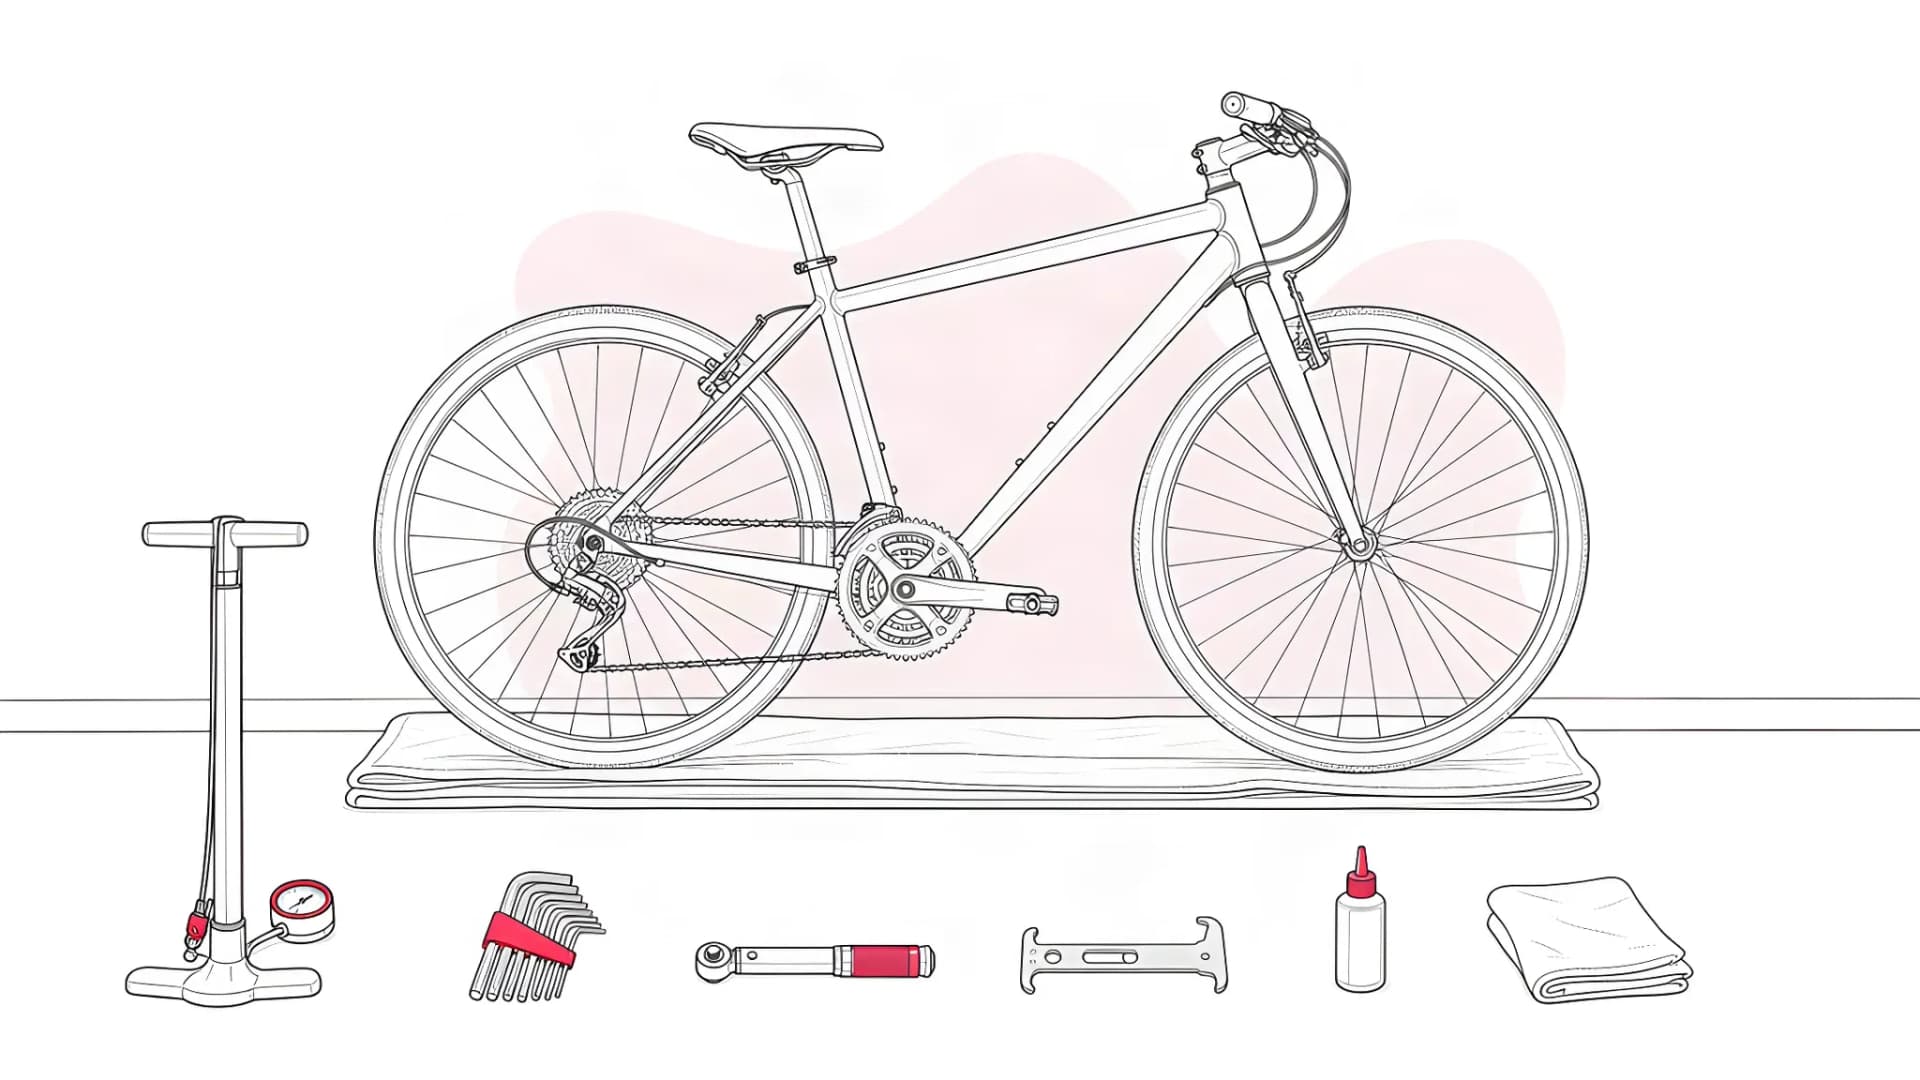
Short answer: how to service a bike at home is seven checks in a fixed order: clean and note faults, frame and fasteners, wheels and tyres, brakes, chain and gears, steering and bearings, then lubricate and test. Each check gives a result that means something, a basic action you can take, and a point where you stop and book a mechanic. A home service is inspection and adjustment, not a strip-down.
Can you service a bike yourself?
Yes, for the checks and adjustments below: cleaning, inspecting every system, taking up cable tension on brakes and gears, setting tyre pressure, lubricating the chain and torquing the bolts that hold you on the bike. A pump, Allen keys, a chain checker and a torque wrench cover it, in a hallway, with the bike against a wall.
A home service is not a workshop overhaul. It does not press bearings out, bleed hydraulic brakes, open a suspension fork, replace cables or touch an e-bike's motor. Finding one of those faults and booking it is a successful result of a check.
What you need for a home bike service
The service itself needs a short kit; anything else is bought when a check calls for it:
- Track pump with a gauge. To set pressure inside the sidewall range; Schwalbe asks for a gauge check at least once a month.
- Allen keys and a Torx key. Cycling UK's tools guide lists 3, 4, 5, 6 and 8 mm hex keys on a multi-tool; add a T25 Torx for disc rotor bolts.
- Torque wrench. Canyon's maintenance checklist calls for a 2–25 Nm wrench and says most bolts sit between 4 and 8 Nm. BikeRadar calls it critical for carbon parts and recommends it for every bike.
- Chain wear checker. A drop-in gauge such as Park Tool's CC-4.2, which reads 0.5%, 0.75% and 1.0%.
- Cleaning kit, degreaser and chain lube. Bucket, sponge, a stiff brush for the drivetrain and three rags; our bike cleaning guide covers the products.
- Isopropyl alcohol, a torch, a pen and paper. SRAM's brake guide names alcohol on a clean rag for a contaminated rotor.
A workstand is optional. Bleed kits, bearing presses and spare parts are extras for the jobs a check uncovers.
How to service a bike step by step
The order matters: cleaning first so wear is visible, structure before moving parts, lube and test last. Each step has the check, what the result means, the basic action and the stop rule.
1. Prepare, clean and note what is wrong
Lean the bike against a wall on a folded towel and shift into a middle gear. Identify what you have: rim, cable disc or hydraulic disc brakes; derailleur or hub gears. Write down the symptoms you already know: a lever that creeps to the bar, a click when pedalling, a gear that slips.
Clean enough to see wear, with the method in our guide to cleaning a bike and the chain cleaning guide, and keep degreaser off disc rotors and pads. On an e-bike, switch the system off and take the battery out first; our e-bike maintenance guide covers that preparation. Do the checks with the wheels in.
2. Inspect the frame, controls and fasteners
Run a torch along every tube and weld, under the down tube, around the head tube, the bottom bracket shell and the dropouts. Cycling UK's M check asks for a frame free from rust damage and cracks. Cracked paint in a ring around a tube, a dent, or rust bubbling from a weld are findings, not dirt.
Carbon shows damage differently: Canyon's checklist lists dull spots, delamination and a hollow sound when tapping, and sends suspected damage to a workshop. A tap test raises a suspicion; it cannot clear a frame. Then the controls: twist the bars with the front wheel between your knees, push the saddle nose sideways, twist each grip, shake mudguards and rack.
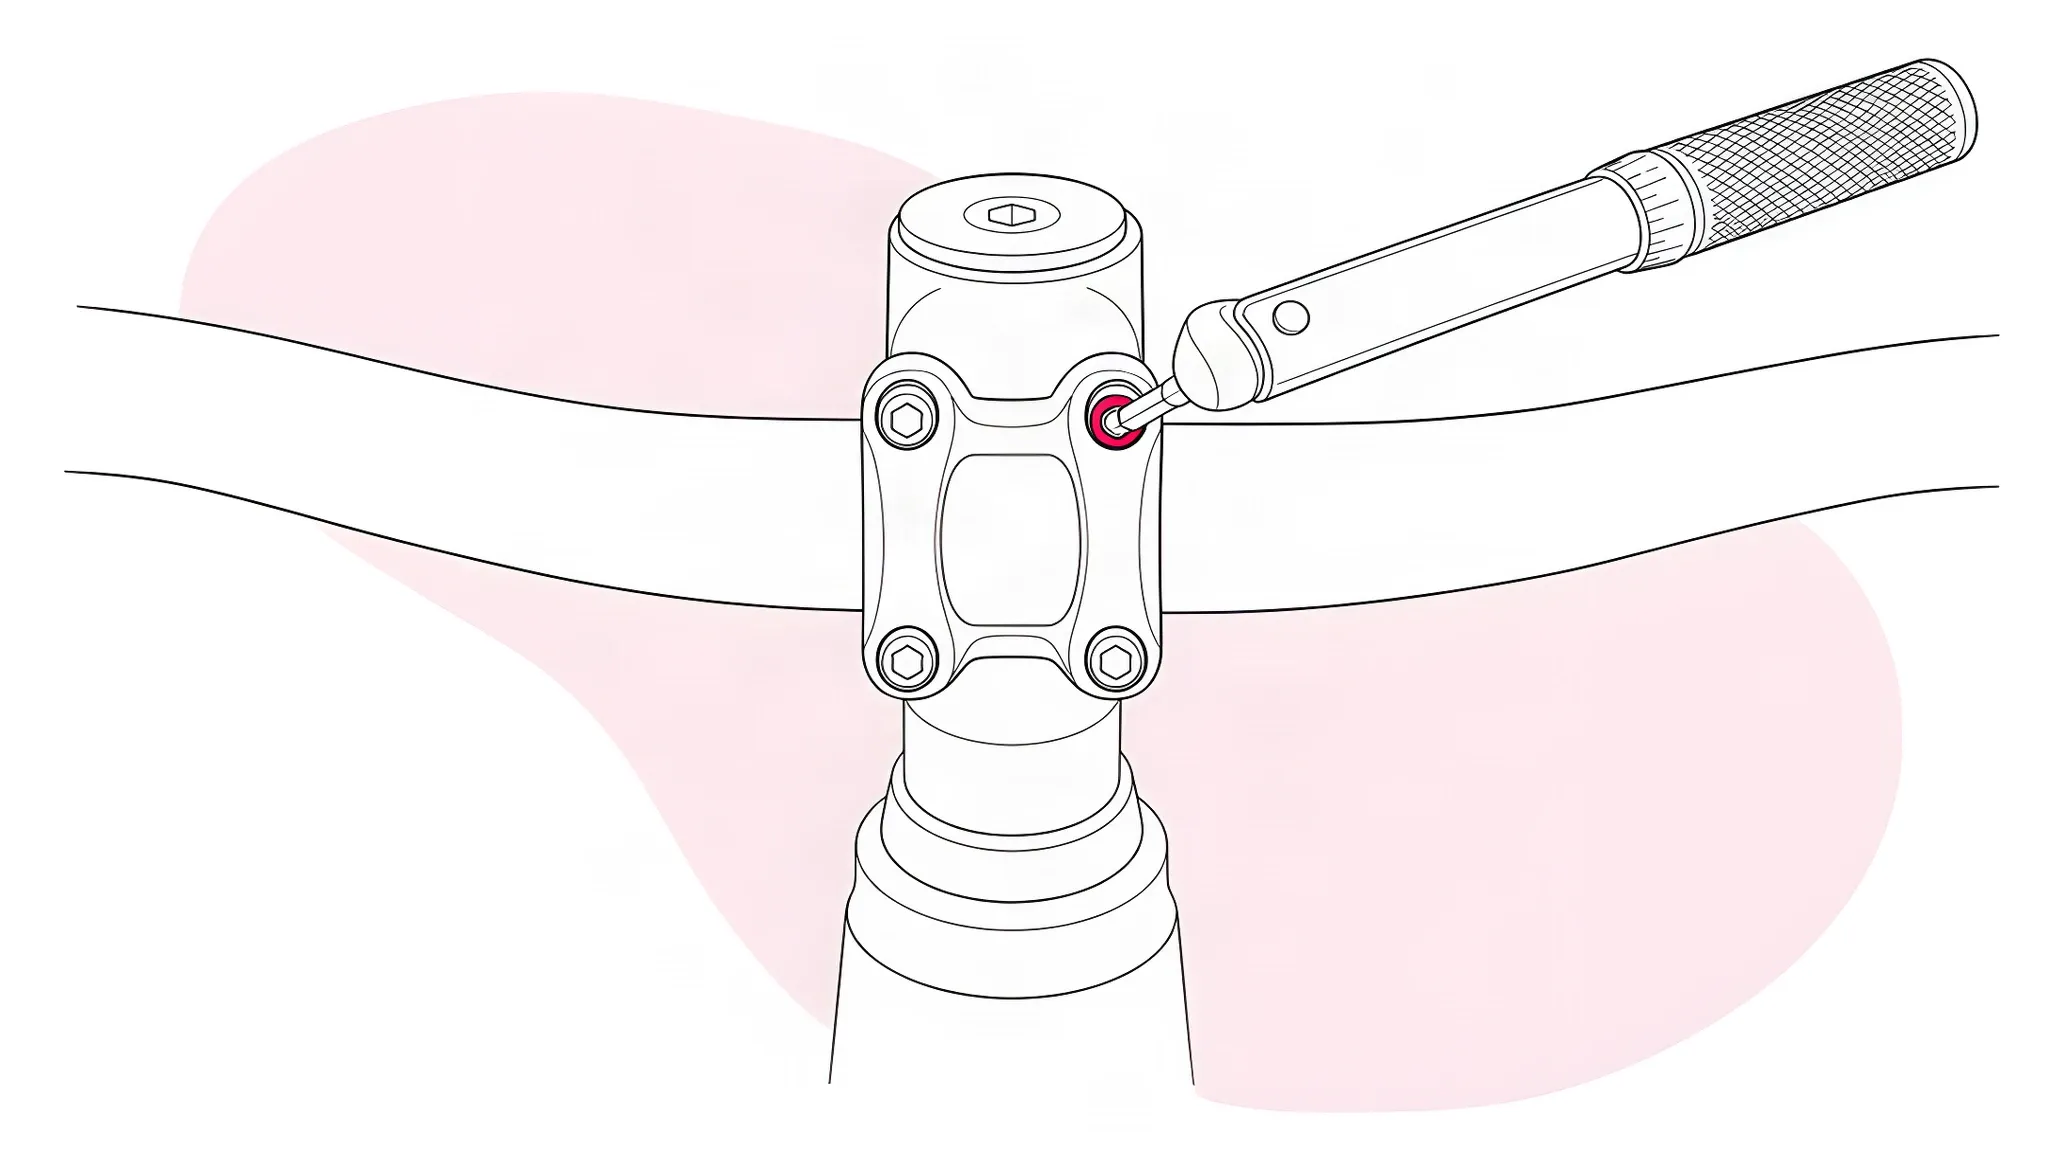
Fasteners take the torque printed on the component, and Park Tool's torque guide says to ask the maker where none is given. Its table shows why guessing fails: stem steerer clamps run from 5 to 10.1 Nm by brand, and seatposts need only enough to stop slipping. Canyon tightens multi-bolt clamps in a cross pattern.
- Basic action. Set loose bolts to their printed torque. Leave the headset top cap (preload, step 6) and the derailleur limit screws (step 5) alone.
- Stop and book if. A crack, dent or kink in frame or fork; a bolt that will not hold torque or has a rounded head; a carbon frame after an impact.
3. Check the wheels and tyres
Retention first. Park Tool's wheel guide says a quick release should meet resistance at 90 degrees from the frame or fork, and a thru-axle is turned clockwise until tight. Park Tool's warning: a wheel not securely mounted may come out while riding, especially with disc brakes.
Spin each wheel and watch the rim against a brake pad or frame tube: a sideways wobble is a buckle, a rise and fall is a hop. Rock the rim side to side; Cycling UK's M check asks for no play in the hubs. Small buckles with intact spokes are the job in our wheel truing guide.
Tyres get the torch. Schwalbe's wear page says a tyre must be replaced when the puncture protection belt or carcass threads show through the tread. It also separates a few large cracks high on the sidewall (fatigue from low pressure) from small, even cracks (age).
Set pressure inside the sidewall range; our tyre pressure guide and the tyre pressure calculator give a starting point. A flat tyre is a puncture repair before it is a service item.
- Basic action. Secure the wheels, inflate to pressure, remove embedded debris, true a small buckle.
- Stop and book if. The rim is cracked or dented, a spoke is broken, the hub has play or feels gritty, or the tyre has a cut, a bulge or threads showing.
4. Check the brakes and make the adjustments you can
Squeeze each lever hard. It should bite before it reaches the bar, with the pads clearing the rim or rotor when released. Rim pads have wear grooves moulded into the rubber; when the grooves are gone or the rubber is hard and shiny, the pads are replaced before anything is adjusted.
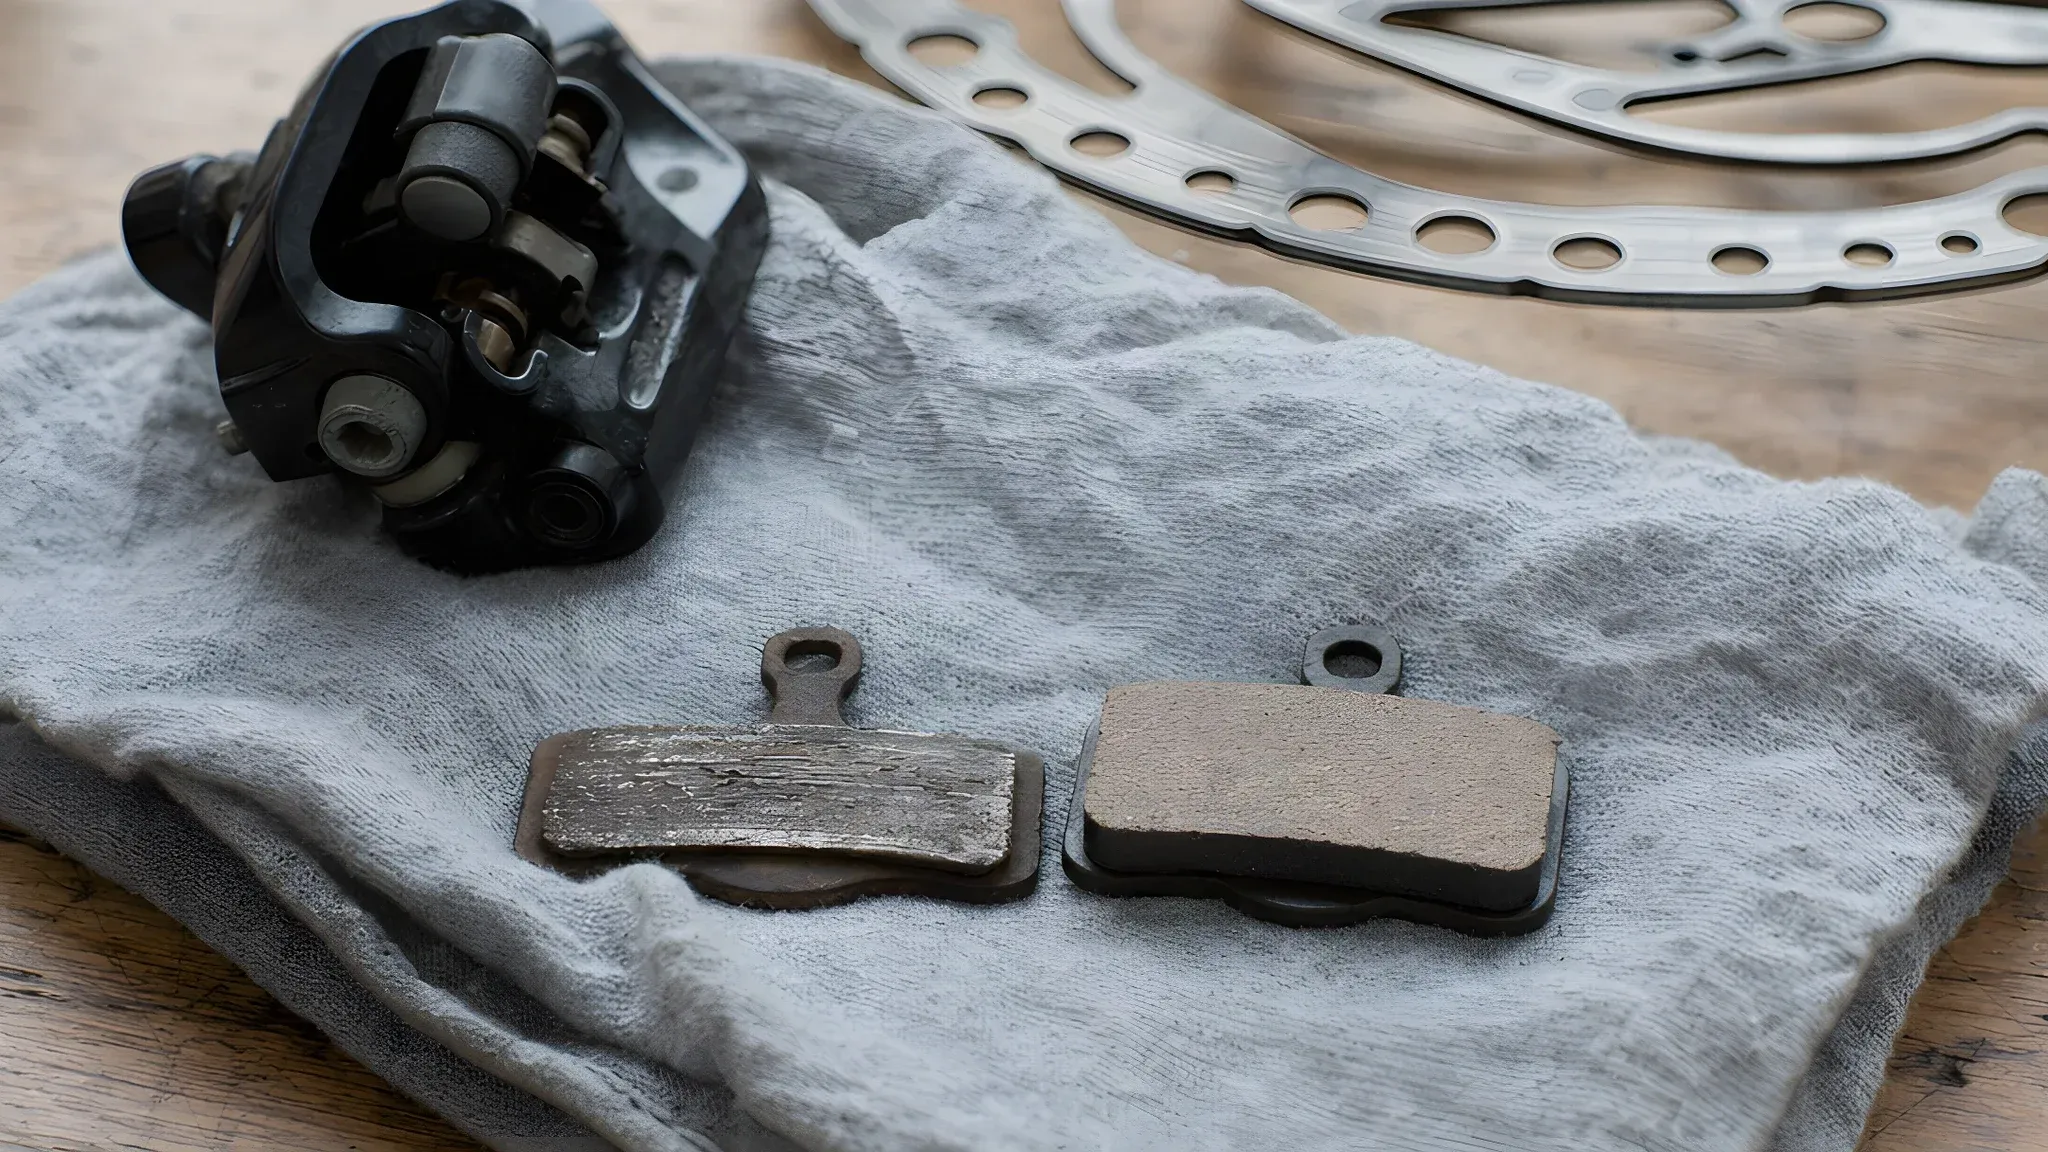
Disc pads are checked against the maker's number. SRAM's brake service guide says to replace them when backing plate and pad material together measure 3 mm or less. SRAM's rotors are replaced below the minimum stamped on them: 1.55 mm for a 1.85 mm rotor, 1.7 mm for a 2 mm rotor. Use the figure for your brake.
Cable brakes are adjustable at home. A frayed strand at the anchor bolt, a kinked or cracked outer, or rust on an exposed run are replacement items. A lever that has crept towards the bar is taken up at the barrel adjuster, half a turn at a time, as our brake adjustment guide shows.
Hydraulic brakes have no barrel adjuster and take up pad wear on their own. A lever that creeps to the bar over weeks, or sinks under steady pressure, points to air or old fluid, and the fix is a bleed with the fluid your brake specifies. SRAM schedules a bleed yearly for DOT brakes, every two years for mineral oil.
A soft lever alone does not name the repair; the pad, cable and fluid checks do.
- Basic action. Take up cable tension, re-centre a rubbing calliper, wipe rotors with isopropyl alcohol (SRAM's remedy for contamination), replace rim pads of the right type. Squeal is its own diagnosis, in our brake squeal guide.
- Stop and book if. Any lever reaches the bar, fluid is leaking, a cable is frayed, or braking stays weak after pads and rotor are clean.
5. Check chain wear and gear operation
Drop the chain checker into the chain in a few places. Park Tool's replacement rule is by drivetrain: a single-speed chain at 1.0%, a 10-speed or lower at 0.75%, an 11-speed or higher at 0.5%. So an 11-speed Shimano chain measured with a CC-4.2 is due when the 0.5% side drops in.
The limit depends on the chain, not the checker. SRAM's own wear tool is built to a 0.8% specification for SRAM chains, looser than Park Tool's 0.5% for 11-speed. Park Tool's warning holds for every chain: run past its limit, it wears the sprockets and chainrings with it.
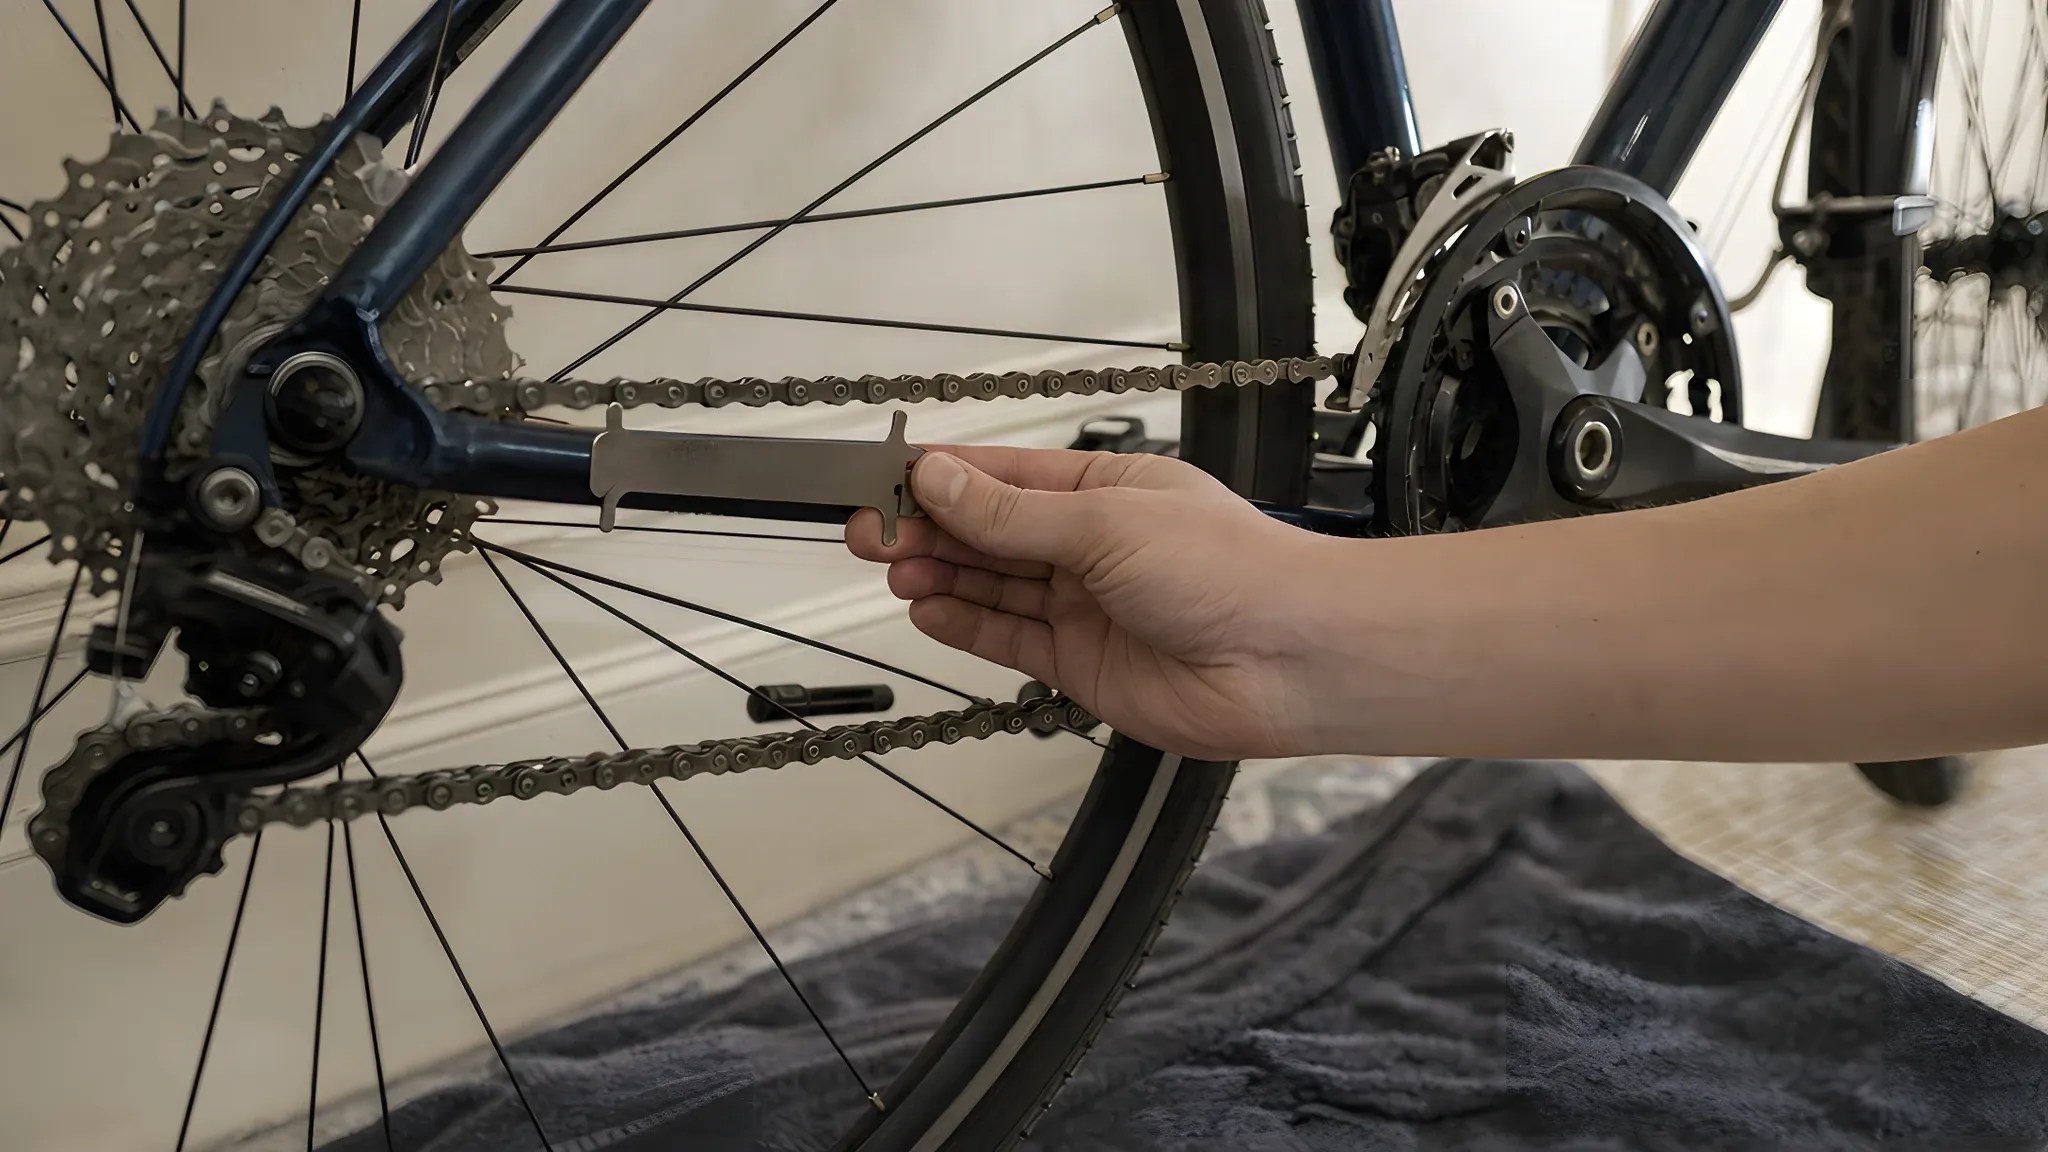
Without a gauge, Park Tool's ruler method works: 24 rivets should span 12 inches, and more than 1/16 inch over means replacement, as our chain repair guide describes.
With the chain clean, look at the teeth: hooked, shark-fin teeth are wear; shorter teeth and ramps at regular intervals are shift aids. Check the gear cables as you did the brake cables, including the run under the bottom bracket where London grit collects.
Test the gears with the rear wheel off the ground, a friend lifting the saddle or a strap over a door handle. Each click should move the chain one sprocket, quietly, in both directions. The one home fix is cable tension, half a turn of the barrel adjuster at a time, in our gears guide.
- Basic action. Replace a chain at its limit, index with the barrel adjuster, note cable condition. Leave the limit screws alone and never bend a hanger by hand.
- Stop and book if. A new chain skips on the old cassette, the derailleur sits out of line with the sprockets, a cable is frayed, or indexing will not settle after a few half turns.
6. Check steering, cranks, pedals and bearings
Headset first. Park Tool's method is to stand the bike on the ground, hold the front brake tightly, press down on the bars and rock the bike forward and back. Cycling UK says any slack is easily felt this way. Park Tool adds that calliper arms and fork legs can also knock, so put a finger across the headset cup.
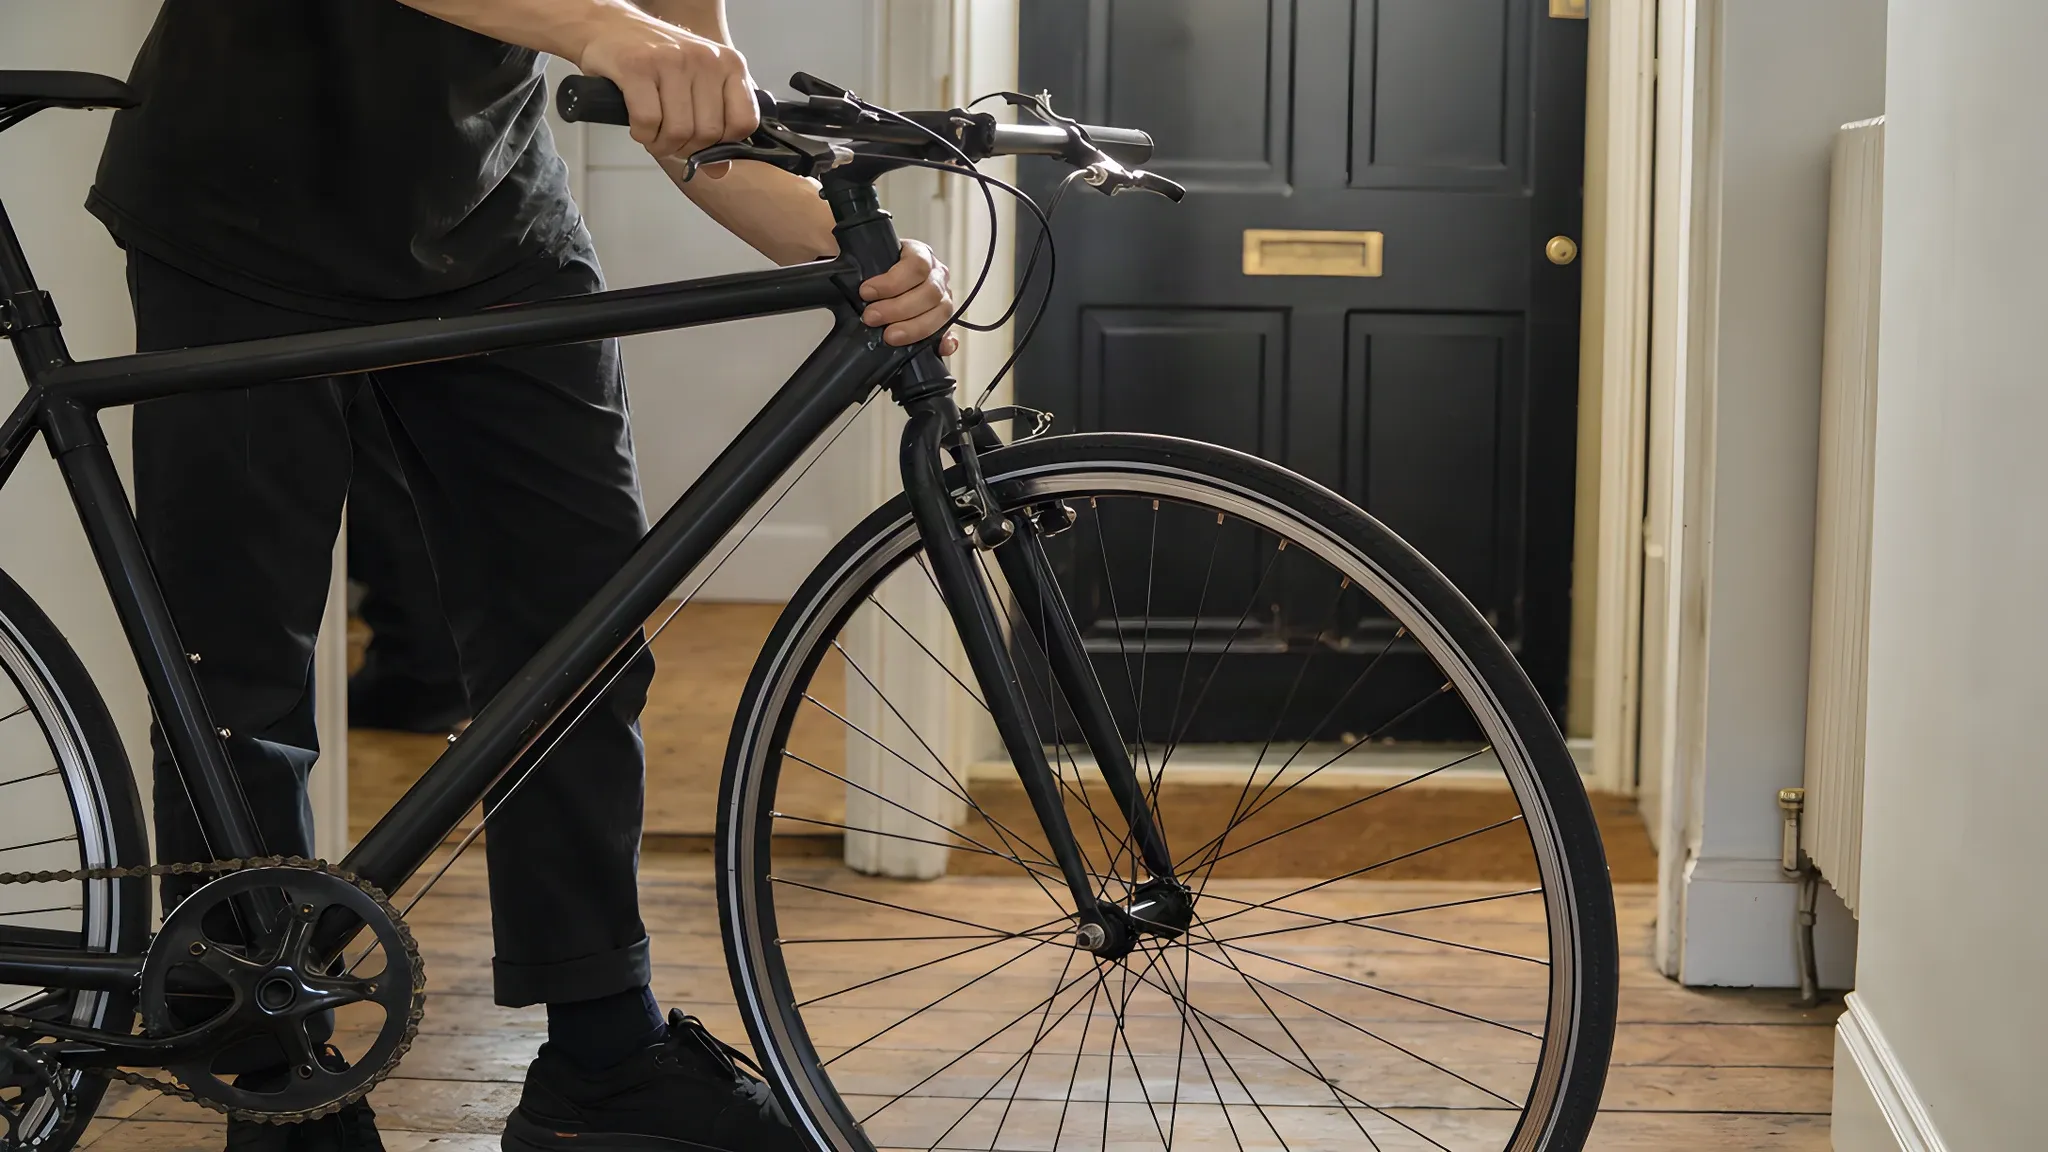
Lift the front wheel and turn the bars; the steering should be smooth with no notch at straight ahead. Park Tool's adjustment for a knocking headset is to loosen the stem bolts, turn the top cap bolt an eighth of a turn, re-tighten the stem to torque and check again. Play that survives two or three rounds means worn bearings.
Cranks next. Park Tool's test is to push the crank arms left and right along the spindle axis and feel for movement. On cranks with a preload ring, Park Tool says to turn the ring slightly toward the bearing and test again; on other designs the fix is at the crank bolt or the bottom bracket.
Spin each pedal and wiggle it on its axle. Noise alone does not prove a bearing: a click under load can come from a pedal, a chainring bolt, a seatpost or a quick release. road.cc's sign of a bearing that has gone is rust leaking from the headset or hubs.
On a mountain bike, wipe the fork stanchions, look for oil weeping from the seals and leave the fork closed. RockShox's service manuals count service in riding hours, at 50 and 200, and recommend a bicycle mechanic with suspension tools for the work.
- Basic action. Reset headset preload within the stem-bolt sequence, set crank preload where a ring exists, clean suspension stanchions.
- Stop and book if. Play returns after adjustment, any bearing turns roughly, a creak cannot be found, or a fork or shock is leaking oil.
7. Lubricate where needed and verify the result
Lube goes on a clean, dry chain and nowhere near the rotors. Cycling UK's method is a drop on each link while turning the cranks backwards, then the excess wiped off with a dry cloth.
A waxed chain follows the wax maker's routine (KMC publishes separate guides for waxed and oiled chains). A belt gets water only; Gates says never lubricate it.
Go back over everything you touched: wheels secure, stem and seatpost bolts at torque, adjusters where you left them. Spin both wheels, squeeze both levers hard, turn the bars lock to lock and run through the gears. Then a short, slow test on a quiet street: each brake alone from walking pace, shift up and down, listen.
Write down what you did and what is unresolved. A bike with an open brake, wheel or frame finding is not ridden until it is fixed.
Your bike service checklist
Work down this list with a pen; what passes is listed, anything else goes on the booking list:
- Frame and fork. No cracks, dents, kinks or rust at welds; carbon with no dull or soft spots.
- Contact points and fasteners. Bars, stem, saddle, seatpost and grips do not move; bolts at their printed torque; no rounded heads.
- Wheels. Quick release firm at 90 degrees or thru-axle tight; rim spins straight; no hub play; no loose spokes.
- Tyres. Pressure inside the sidewall range; no cuts, bulges, threads showing or large sidewall cracks.
- Brakes. Lever bites before the bar; rim pads with grooves, disc pads above the maker's minimum (SRAM: 3 mm with backing plate); cables intact; no fluid anywhere.
- Drivetrain. Chain inside its wear limit for your speed count; teeth not hooked; one click, one sprocket, quiet in every gear.
- Steering and bearings. No knock with the front brake held; smooth steering; no crank or pedal play.
- Lubrication and test. Chain lubed and wiped; rotors dry; brakes, steering and shifting checked standing still, then at walking pace.
Common mistakes in a home service
- Tightening every bolt you can reach. Park Tool's table shows torque varies by part and brand; overtightening cracks carbon and strips threads. Set the loose ones to their figure and leave the rest.
- Oiling a dirty chain. Lube on grit makes grinding paste. Cycling UK's sequence is clean, dry, then a drop per link and wipe.
- Letting degreaser or lube reach the brakes. SRAM's fix for a contaminated rotor is isopropyl alcohol; contaminated pads are replaced.
- Turning the limit screws to cure a skipping chain. Indexing lives at the barrel adjuster; the limit screws stop the chain leaving the cassette.
- Trusting a tap test on a carbon frame. Canyon lists tapping as a way to find a suspect area and sends suspected damage to a workshop. It does not clear a frame.
Road bikes, mountain bikes and e-bikes: what changes
The seven checks are the same on every bike. What changes is where the wear shows and which systems join the list.
Road bikes. Rim brakes wear the braking track, and a concave track or a vanished wear indicator is a rim replacement. BikeRadar's road bike check has cables fraying unseen under the bar tape, so a stiff shifter is a cable finding.
Mountain bikes. Add the suspension check from step 6, the pivot bearings on a full-suspension frame (rock the rear wheel sideways with the frame held) and dropper post play. Suspension service follows the fork and shock maker's schedule.
E-bikes. The mechanical checks apply, with the system off and the battery out first; motor, battery and controller stay closed. Tyred's e-bike repair refers motor and battery faults to an authorised service centre when the repair is outside its scope.
How often should you service a bike?
Service when the checks say so, with a short routine in between. Cycling UK suggests a weekly look at chain wear with a checker; KMC's check intervals are 500 km on dry roads and 150 km off-road or in everyday use in poor conditions. A London winter on gritted roads sits at the short end.
The routine between services is in our bike maintenance guide; the full service is this page.
When to leave the job to a mechanic
Some findings end the home service and start a booking:
- Suspected frame or fork damage. A crack, a dent or a carbon frame after a crash needs an inspection, not a ride.
- A brake problem the adjuster does not fix. A lever to the bar, a leak, a frayed cable or a sinking hydraulic lever: a bleed or a cable replacement.
- Play that comes back, or a damaged fastener. Worn headset, hub or bottom bracket bearings to press out and replace; a rounded, stripped or seized bolt.
- Drivetrain wear past the chain. A new chain skipping on the cassette, hooked chainring teeth or a bent hanger, which is aligned with a gauge.
- Suspension internals and e-bike electrics. Fork and shock service, and anything behind a motor or battery cover. road.cc's advice applies to all of it: know your limitations.
Tyred's packages on the pricing page match the stages of this guide. Standard is a full safety check with brakes and gears adjusted and the chain cleaned and lubricated. Essential adds brake and gear cable replacement, wheels trued and a hydraulic brake fluid check. Premium adds new tyres and new brake pads fitted.
A mechanic comes to you with a fully stocked workshop, 9am to midnight, seven days a week, across London.
Book a repair · About mobile bike repair →
Related guides
Sources and further reading
- Park Tool: when to replace a worn chain, replacement thresholds by drivetrain (1.0%, 0.75%, 0.5%), the ruler method (24 rivets, 12 inches, 1/16 inch) and the warning that an over-worn chain wears sprockets and chainrings; and Park Tool CC-4.2 chain checker, the 0.5%, 0.75% and 1.0% readings.
- SRAM chain wear indicator TL-CNTL-WEAR-A1, the 0.8% wear specification for SRAM chains.
- KMC: technical maintenance, chain check intervals of 500 km and 150 km, the manual and digital checkers, and the separate care guides for waxed and oiled chains.
- SRAM brake service guide, pad replacement at 3 mm including the backing plate, rotor minimums of 1.55 mm and 1.7 mm, bleed intervals for DOT and mineral oil, and isopropyl alcohol for a contaminated rotor.
- Park Tool: threadless headset service, the front-brake rocking test, knocking from calliper arms or fork legs, and the loosen stem, eighth-turn top cap, re-tighten sequence.
- Park Tool: bottom bracket adjustment using a preload ring, pushing the crank arms along the spindle axis to test for play and turning the ring toward the bearing.
- Park Tool: torque specifications and concepts, manufacturer torque first, the stem steerer clamp range of 5 to 10.1 Nm by brand, and minimal tightening for seatposts.
- Park Tool: wheel removal and installation, the quick release meeting resistance at 90 degrees, thru-axle tightening and the warning about an insecure wheel on disc brakes.
- Canyon: bike maintenance checklist (updated February 2026), the 2–25 Nm torque wrench, most bolts at 4 to 8 Nm, the cross-pattern 50/75/100% method, carbon dull spots and delamination, and workshop referral for frame damage and hydraulic bleeds.
- Cycling UK: before you set off, the M check (PDF), the checklist of hub play, spokes, tyre debris, saddle and seatpost security, steering play and frame rust and cracks; and Cycling UK: essential tools (PDF), the 3, 4, 5, 6 and 8 mm hex keys.
- Cycling UK: guide to routine cycle safety and service checks (Victoria Hazael), the front-brake headset test, spinning wheels for true, pad thickness and the weekly chain check.
- Cycling UK: a beginners' guide to cleaning your bike, a drop of lube per link, cranks turned backwards, wiping the excess, and no pressure washers.
- Schwalbe: bicycle tyre wear, the wear limit at the puncture protection belt or carcass, fatigue cracks against ageing cracks, and the monthly gauge check.
- RockShox 50/200 hour service manual (PDF), the every-ride, 50-hour and 200-hour intervals and the recommendation to use a bicycle mechanic for suspension service.
- Gates Carbon Drive owner's manual (PDF), care section: wash with water, do not lubricate, inspect belt and sprockets.
- BikeRadar: 10 essential bike maintenance tips (Oscar Huckle, May 2026), the home toolkit and the torque wrench as critical for carbon and recommended for every bike.
- BikeRadar: 10-point maintenance check for your road bike (David Rome, 2016), gear cables inspected for fraying or kinks, weekly tyre checks for cuts, hanger alignment with a gauge, and cables under the bar tape.
- road.cc: how to keep your bike running smoothly (Suvi Loponen, October 2023), rust leaking from the headset or hubs as a sign of worn bearings, gritted winter roads, and knowing your limitations.